
DIY Birthday Card Organiser
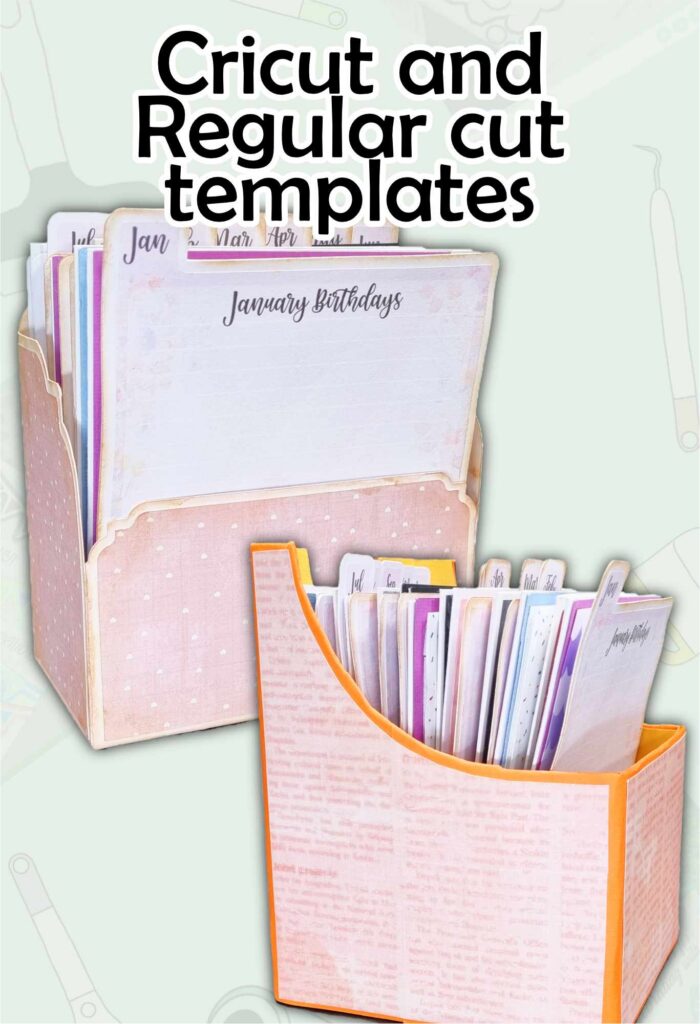
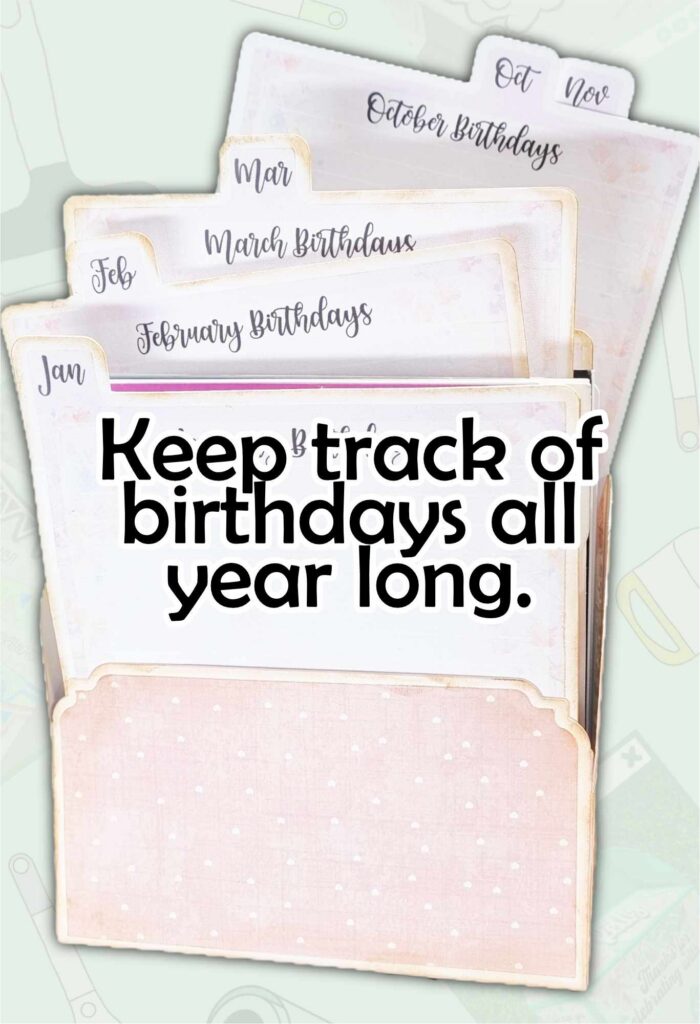
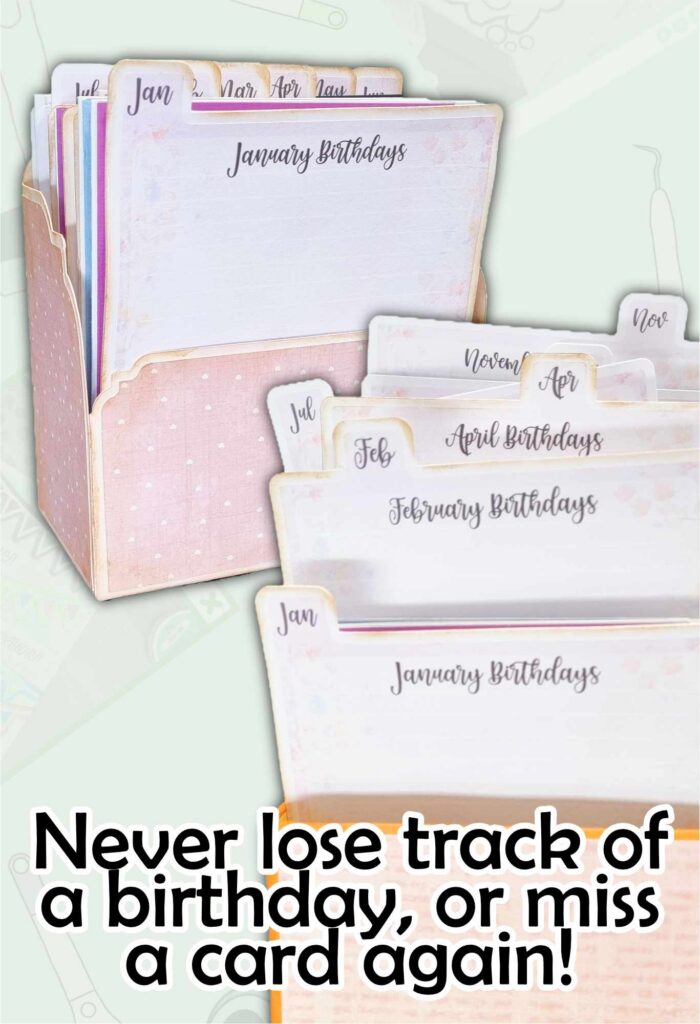
Never find yourself scrambling for a birthday card at the last minute again! This birthday card organiser gives you one convenient place to store cards for the entire year, with separate sections for each month.
You can also write down the birthdays you need to remember in each section, making it easy to see who has a birthday coming up and whether you already have a card ready for them.
There are two ways to make this project. You can create the complete version using your Cricut, or make a simple non-Cricut version by repurposing a sturdy box and creating your own dividers.
Option 1: Make the Organizer Without a Cricut
If you don't have a Cricut, you can still make this project. There are actually two different ways you can create the non-Cricut version.
In the workshop, I showed you how to repurpose a sturdy cardboard box and change its dimensions to create an organizer that fits your cards. However, I've also included a printable box template that you can use if you would prefer to make the box from scratch.
Whichever option you choose, you can then use the included printable divider labels and monthly titles to create the 12 sections for your organizer.
To make the Birthday Card Organiser using a Cricut:
What you Will learn from this Tutorial:
Supplies
- Strong cardstock for the box
- Cardstock for the dividers
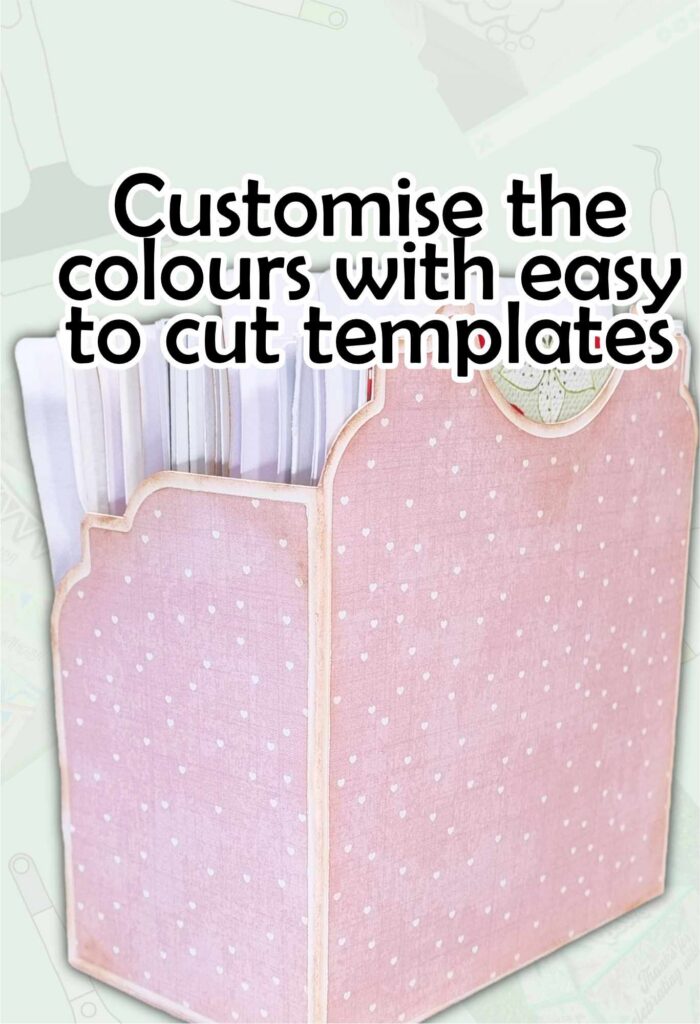
- Patterned or decorative paper for the covers
- Printer
- Regular copy paper for the printable sections
- Glue
Want more designs? Check out the Card Organiser Bundle here:
Method 1: Repurpose a Cardboard Box
This is the method I demonstrated in the workshop and is a great way to use a sturdy box that you already have.
Step 1: Choose Your Box
Start with a nice, sturdy cardboard box.
The box doesn't have to be exactly the right size because you can change the dimensions to better fit your cards.
Place one of your cards inside the box to determine how wide you want your finished organizer to be.
Step 2: Remove the Top of the Box
Cut off the top sections of the box that you no longer need.
Push out the base of the box and flatten it so that you can more easily adjust its dimensions.
Step 3: Create Your New Fold Lines
Place your card against the flattened box to determine the width you need.
Create a fold line just to the right of the card and continue that fold line all the way down the box.
Instead of using the original corner of the box, this new fold line will become your new corner.
Step 4: Cut the Bottom of the Box
Cut through the underside of the box up to your new fold line.
Stop when you reach the fold line rather than cutting all the way through the box.
Fold along the new line to create your new corner.
Flip the box over and repeat the same process on the other side.
Measure the size, create your fold line and cut the underside of the box up to the fold line.
You should now have two new corners that make the box narrower and a better size for your cards.
Step 5: Reassemble the Box
Fold your box into its new shape.
Glue the base together to secure it. Depending on the type of box you are using, you can also use packaging tape.
Allow the adhesive to dry before continuing.
Step 6: Shape the Top of the Box
Cut the box down to the height and shape you prefer.
In the workshop, I created a curved design, but you can simply cut yours straight if you prefer.
I like to keep the organizer slightly taller than the cards so that the cards are protected inside.
You can also cut a small semicircle into the back of the box to make it easier to reach in and grab your cards.
Step 7: Cover Your Box
Once you're happy with the shape, you can cover the box with regular cardstock, patterned paper or another decorative paper of your choice.
If you're working with a waxy or glossy cardboard box, scratch the surface up slightly first so that the glue has something to stick to.
Method 2: Use the Printable Box Template
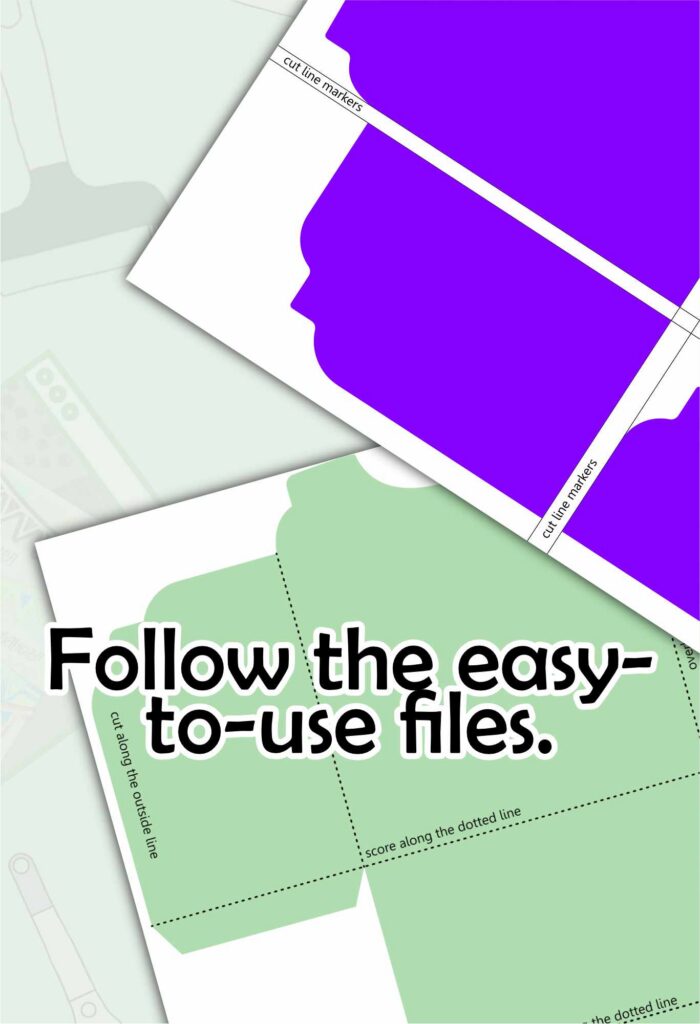
If you don't have a suitable box to repurpose, use the printable box template included with your project.
Step 1: Print the Template
Print the box template onto regular copy paper.
The template comes in two pages. When printing, make sure you print the template at Actual Size rather than using Fit to Page so that the sizing is retained.
Once printed, overlap the two pages to create the full-size template and tape them together.
Optional: Use scissors to cut around the template so that it is easier to position and use.
Set aside the month title section for later.
Step 2: Transfer the Template
Place the assembled paper template on top of the cardstock or cardboard you want to use for your organizer.
Use the template as your guide and cut around the outside of the box shape by hand.
If you're using a thicker corrugated cardboard, use a box cutter and self-healing cutting mat rather than scissors.
Step 3: Score the Box
Use the fold lines on the printable template as your guide.
Score along each fold line using a ruler and scoring tool or bone folder.
Move the attached group to the side, and you should see the dashed score square, the outer cut shape, and the foil outline move together.
Step 4: Assemble the Box
Fold along all of your score lines.
Bring the bottom flap up to create the base and front panel, then fold in the two side flaps.
Glue the box together, making sure that the tabs remain on the inside of the organizer.
Set the box aside and allow it to dry completely.
Create Your 12 Monthly Dividers
Once your box is complete, you can use the printable templates to create your dividers. You can follow these instructions whether you made your box from the printable template or repurposed an existing box.
Step 1: Print the Divider Labels
Print the divider labels onto 6 pages of paper of your choice. Regular copy paper works perfectly well.
When printing, make sure to select Actual Size and not Fit to Page so that the sizing of the labels is retained.
For the best result, select a high-quality print resolution in your printer settings.
Step 2: Cut the Cardstock Dividers
Cut 12 cardstock dividers measuring:
4.75″ x 5.2″ (12.1 cm x 13.2 cm)
You can round the corners if you prefer.
A sturdy cardstock works particularly well because the dividers will be handled throughout the year.
Step 3: Add the Printable Divider Labels
Cut out your printed divider labels.
Use glue to adhere one divider label onto each of your 12 cardstock dividers.
These give you a space to keep track of the birthdays, names and other reminders for each month.
Create the Monthly Title Tabs
The next step is to add the month titles that will allow you to easily find each section.
Step 1: Punch Out the Month Titles
Grab the monthly title section from the printable template that you set aside earlier.
Use a 1″ circle punch to punch out each monthly divider title.
Step 2: Create the Cardstock Backings
Use the leftover cardstock from your dividers to punch out 12 additional 1″ circles.
Glue one printed monthly title onto each cardstock circle.
This gives your tabs a sturdier backing.
Step 3: Arrange January to June
The titles have been designed to break the year into two parts:
January to June
July to December
This allows each monthly title to be staggered across the dividers and remain visible from the front.
Before gluing anything down, carefully lay out your January to June titles underneath the divider squares.
Position each title so that it does not obstruct the view of the next month.
Lay out all six months first and check the overlap before gluing them down.
Once you're happy with their positions, glue each tab to its divider.
Step 4: Arrange July to December
Repeat the same process with July through December.
The positioning starts again so that these six months follow the same staggered pattern as January through June.
Again, check the position of all six tabs before gluing anything permanently into place.
Decorate Your Organizer
If you would like to cover your box with pretty or colourful cardstock, now is the perfect time to do that.
You can use patterned paper, cardstock or another decorative paper to completely change the appearance of your organizer and make it match your craft room, office or home.
Once decorated, place your 12 finished dividers into the box in month order.