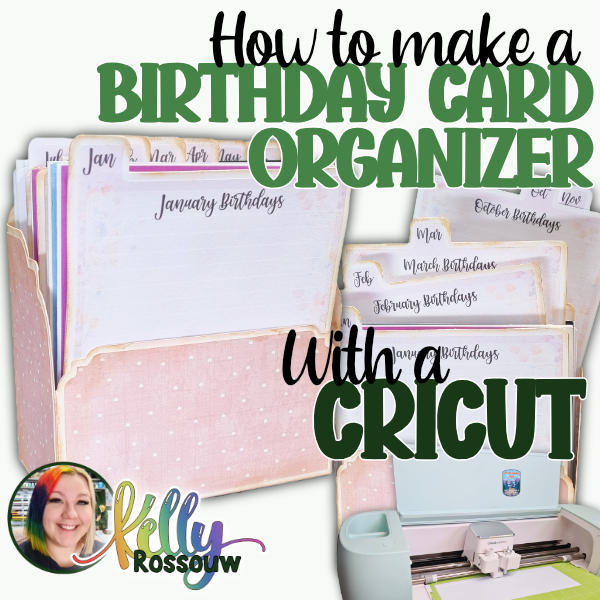
DIY Birthday Card Organiser
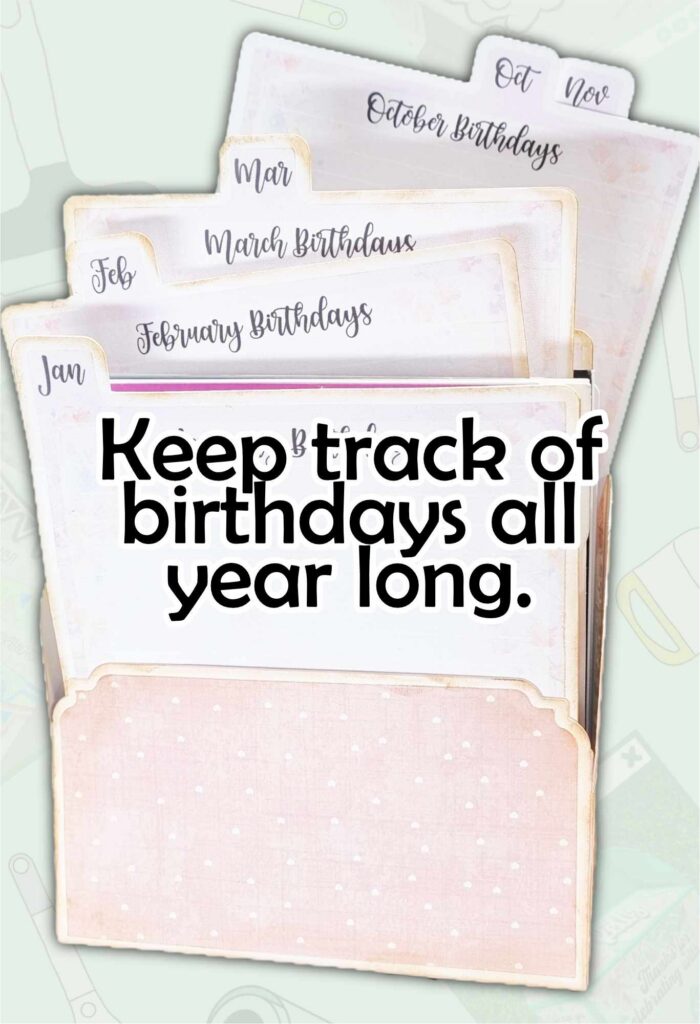
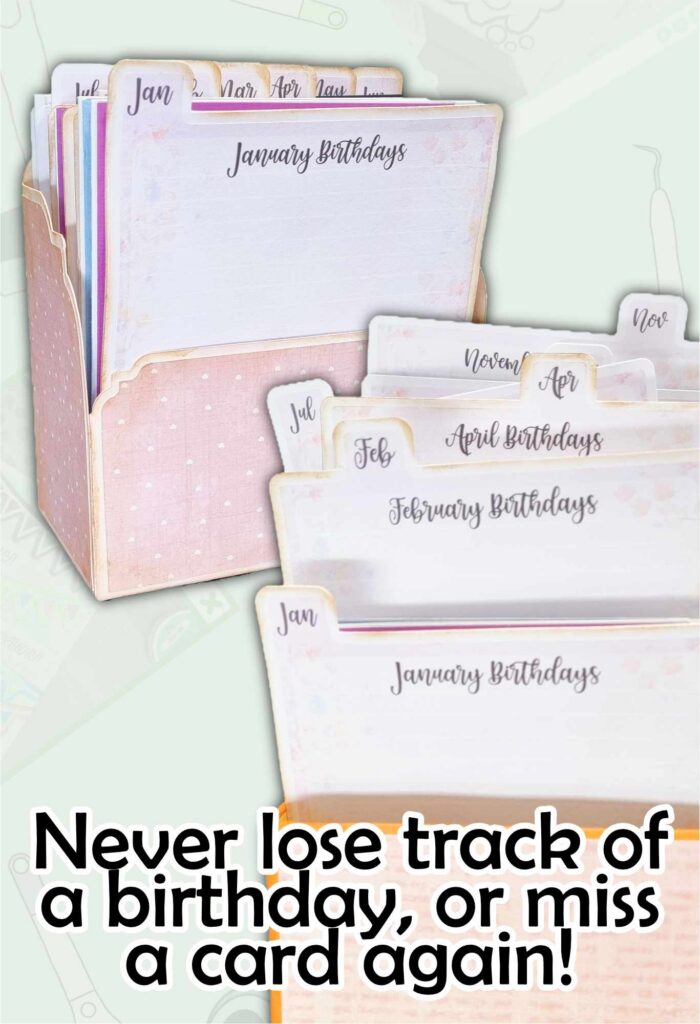
Never find yourself scrambling for a birthday card at the last minute again! This birthday card organiser gives you one convenient place to store cards for the entire year, with separate sections for each month.
You can also write down the birthdays you need to remember in each section, making it easy to see who has a birthday coming up and whether you already have a card ready for them.
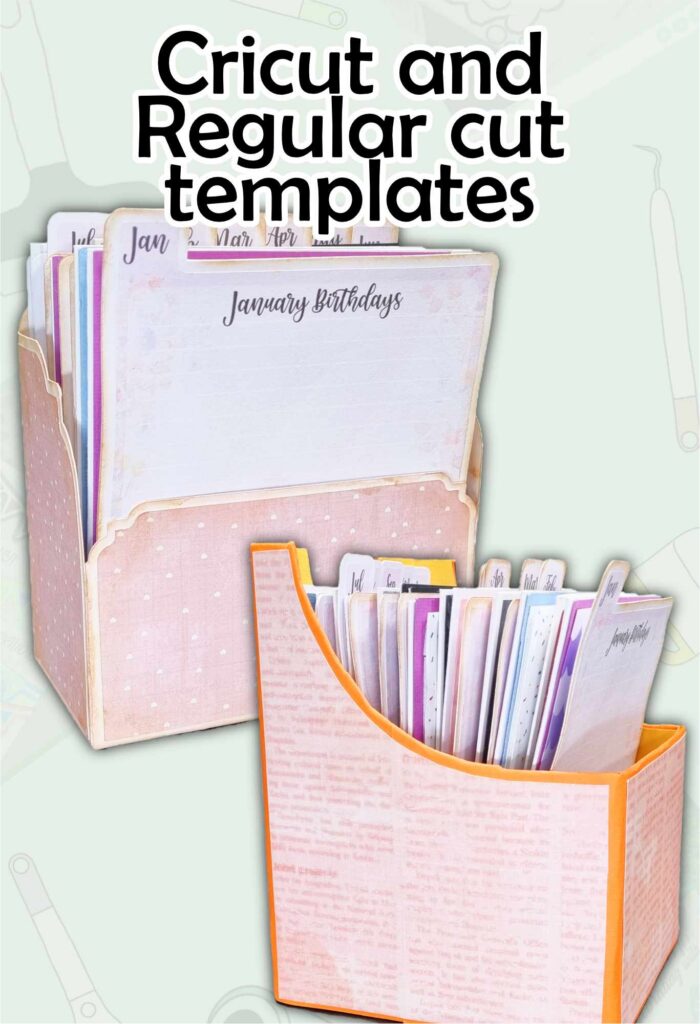
There are two ways to make this project. You can create the complete version using your Cricut, or make a simple non-Cricut version by repurposing a sturdy box and creating your own dividers.
To make the Birthday Card Organiser WITHOUT using a Cricut:
What you Will learn from this Tutorial:
Supplies
- Cricut birthday card organizer files
- Cricut Design Space
- Cricut cutting machine
- Strong cardstock for the box
- Cardstock for the dividers
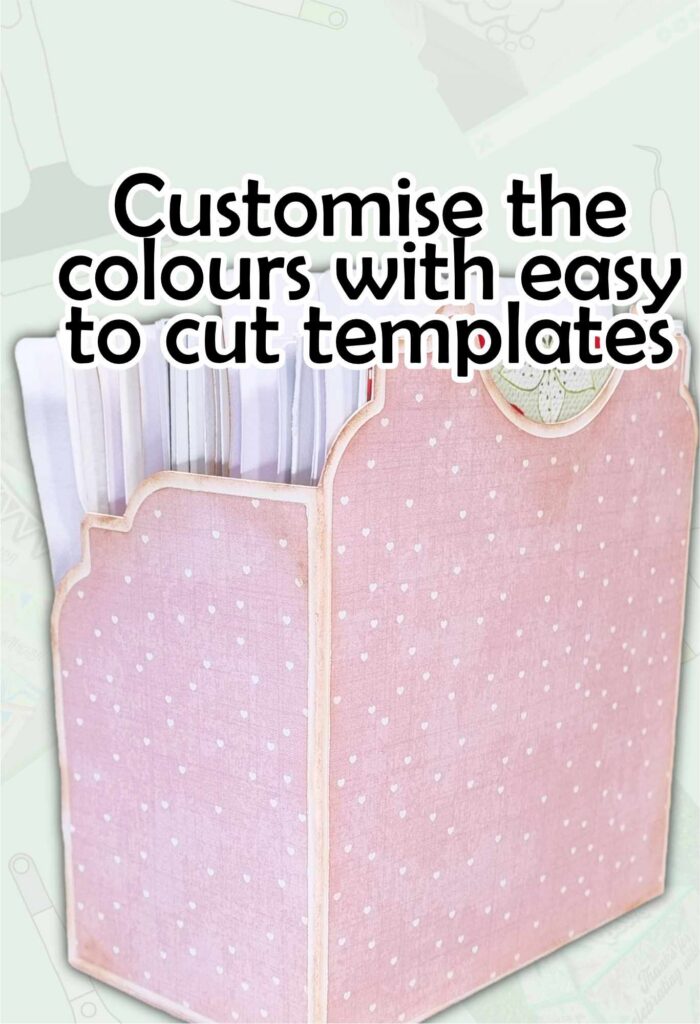
- Patterned or decorative paper for the covers
- Printer
- Regular copy paper for the printable sections
- Cricut cutting mat
- Scoring tool compatible with your Cricut
- Glue
Want more designs? Check out the Card Organiser Bundle here:
Part 1: Create the Box
Step 1: Upload the Box File
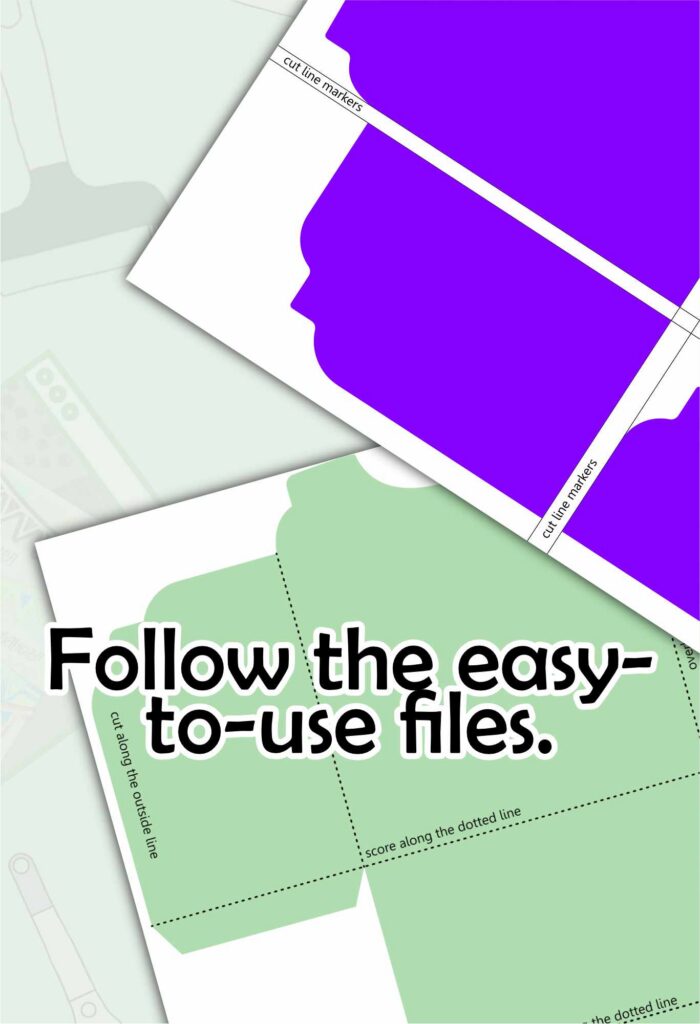
Open Cricut Design Space and upload the card organizer box file.
Select the file, click Open, continue through the upload screen and click Upload to add it to your canvas.
Step 2: Ungroup the File
Select the box on your canvas.
In the Layers panel on the right-hand side of the screen, click Ungroup.
You should now see the main box layer and a second layer containing the fold lines.
Step 3: Change the Fold Lines to Score
Select the layer containing the lines.
At the top of Design Space, change the operation from Basic Cut to Score.
The lines will change to dotted score lines.
This tells your Cricut to score these areas rather than cutting them, giving you fold lines that make the box much easier to assemble.
Step 4: Attach the Score Lines
Select both the box and score-line layers.
Click Attach.
This keeps the score lines in the correct position when you send the project to your Cricut.
Step 5: Cut the Box
Click Make and follow the prompts in Design Space.
I recommend cutting the main box from a sturdy cardstock, such as 300 GSM / 110 lb cardstock, to give your organizer plenty of support.
Allow your Cricut to score and cut the project.
Step 6: Assemble the Box
Remove the box from your cutting mat and fold along the score lines.
Bring the bottom flap up to form the base and front of the organizer, then fold the side sections into position.
Glue the box together, keeping the tabs on the inside.
Set it aside to dry completely.
Part 2: Cut the Inside and Outside Covers
The Cricut version also includes templates for the inside and outside covers.
Upload these files into Cricut Design Space.
Choose the patterned paper, coloured cardstock or decorative material you would like to use and cut the pieces with your Cricut.
Glue the decorative layers onto your assembled organizer.
Part 3: Create the Cricut Dividers and Tabs
Upload the divider and tab files into Cricut Design Space.
Cut 12 dividers – one for each month of the year.
A sturdy cardstock works well here because the dividers will be regularly handled as you add and remove cards.
The Cricut version includes the shaped tabs, so unlike the printable version, you don't need to create separate circles using a punch.
Part 4: Create the Printable Organization Layers
The final element is the printable layer that sits on your dividers.
These sections give you somewhere to write the birthdays, names and reminders that you want to keep track of.
Upload the printable files into Cricut Design Space and use Print Then Cut to create them.
You can print these onto regular copy paper – they don't need to be made from anything fancy.
Once printed and cut, glue the printable layers onto the corresponding cardstock dividers.
Move the attached group to the side, and you should see the dashed score square, the outer cut shape, and the foil outline move together.
Fill Your Birthday Card Organizer
Whether you choose the Cricut or non-Cricut version, your finished organizer will contain 12 monthly sections.
Use each divider to write down the birthdays you need to remember for that month, then place the cards you have prepared behind the appropriate divider.
For example, if you have four birthdays coming up in March, you can see at a glance that you need four cards and start making or buying them ahead of time.
As you build up your card collection, simply file each card behind the correct month.
This gives you one place to keep your birthday cards organized for the entire year and makes it much easier to see exactly who you need a card for and whether you already have one ready to go.