Adding a custom material in Cricut Design Space will greatly help you cut new materials much easier. The pre-loaded materials in Cricut Design Space are mostly based on Cricut brand products, so you may need to add your own material cut setting into Cricut Design Space in order to get the perfect cut.
Adding a custom material in Cricut Design Space can help you tailor your cut settings to perfectly match the exact material you are cutting. These settings are machine-specific but can be set up in a few easy steps.
Steps we cover on Adding Custom Materials to Cricut Design Space:
- Why we use Custom materials in Cricut Design Space
- How to navigate Cricut Design Space to find the material settings.
- The process of adding and customizing new materials.
- How to find your new material once it has been added.
You can also follow along with this tutorial on YouTube
Why we use Custom materials in Cricut Design Space
Custom materials in Cricut Design Space allow us to tailor our cut settings to different materials we might use. As the pre-loaded cut settings in Design Space are all created based on Cricut products, they may not fit the products we want to use. This allows us to add a material for our Oracal vinyl, or your Siser DTV material for example.
Step-by-Step Guide to Adding a Custom Material in Cricut Design Space
Step 1
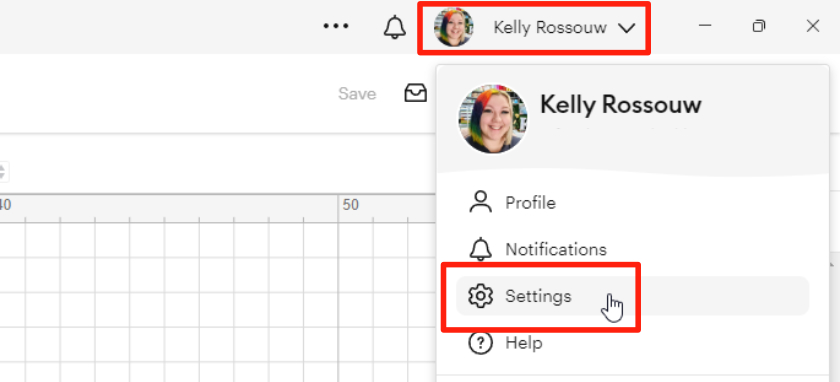
To access the Custom Material setting section, click on the drop-down menu in the top right corner of the screen where your name is. Click on Settings.
Step 2
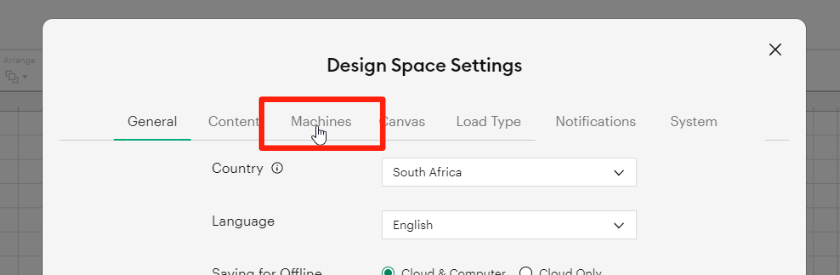
Navigate to the ‘Machines’ tab on the Design Space settings menu.
Step 3
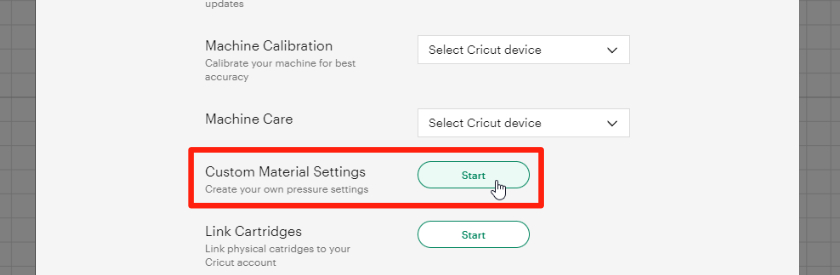
Click ‘Start’ next to the ‘Manage Custom Materials‘ section.
Step 4
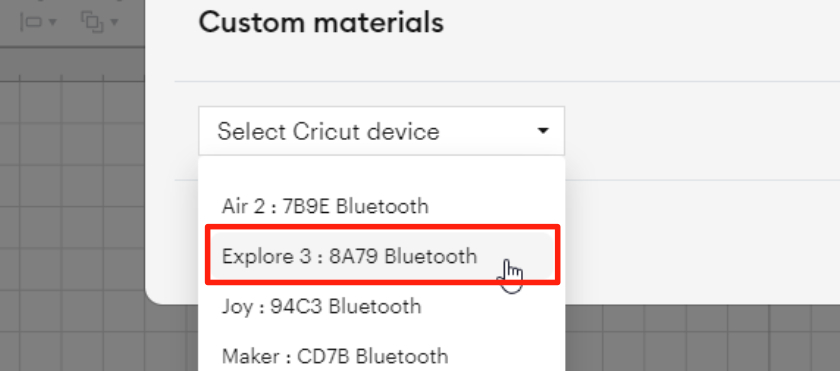
You will be prompted to select the Cricut machine you are using (e.g., Maker, Air 2 etc), as all material settings are machine-specific. The four-digit number at the end of the machine name is specific to each machine and can be found underneath your machine itself.
Step 5
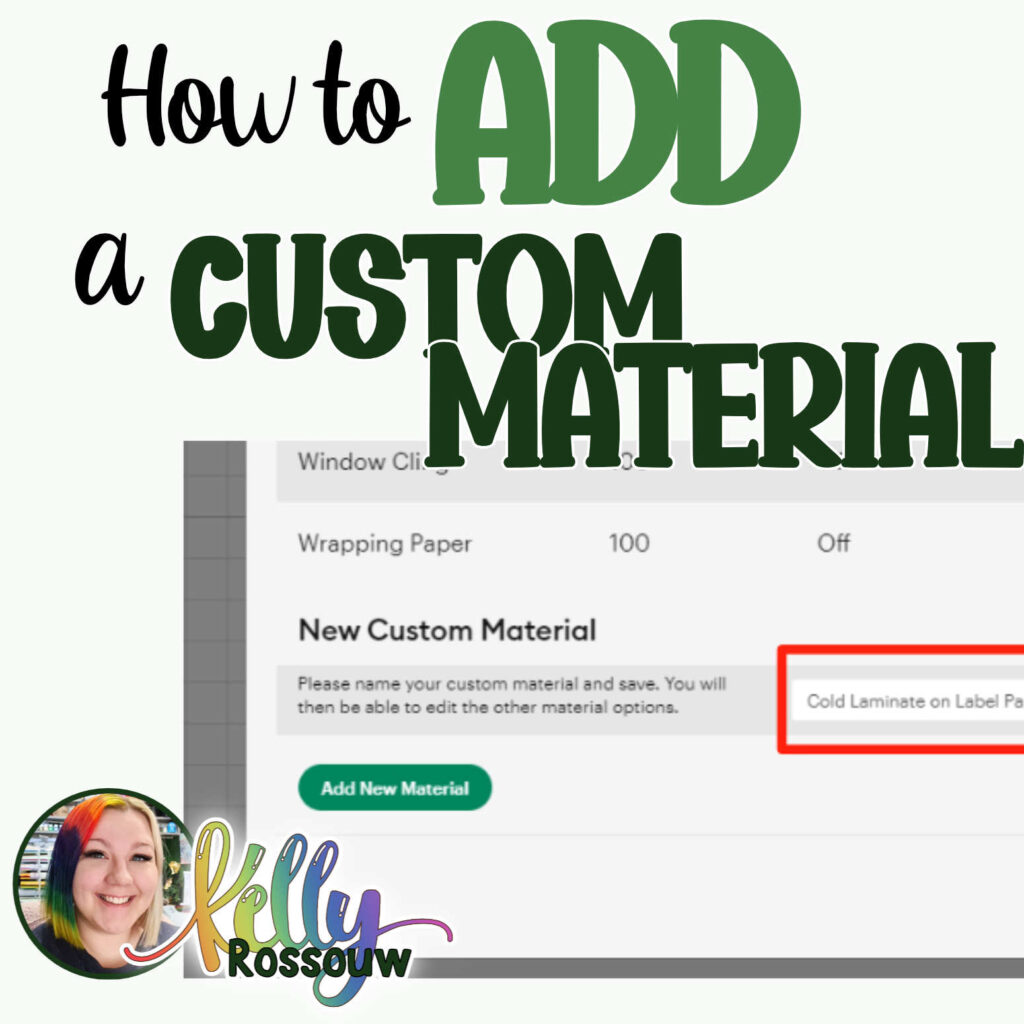
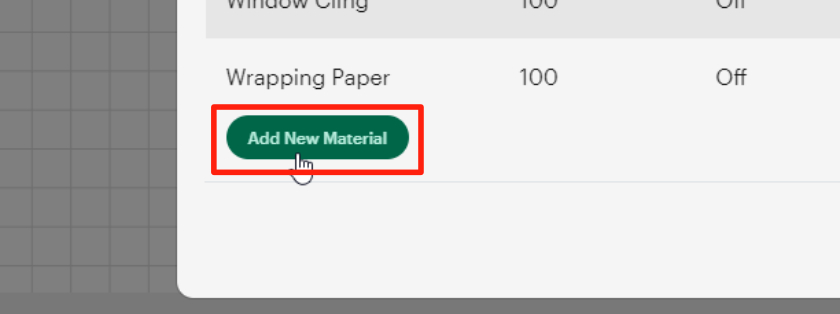
Scroll down to the very bottom of the page that pops up, and click ‘Add New Material‘
Step 6
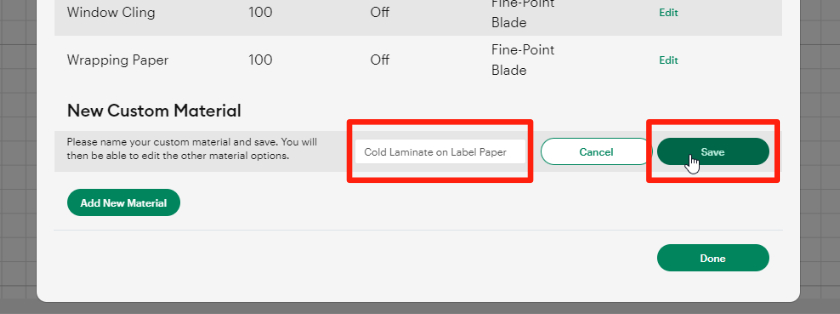
Enter the material name you wish to add. Be as descriptive as possible so you will easily be able to identify it again in the future. Once you have typed in the material name, click Save.
Step 7
Adjust the slider to the pressure you wish to use for your cut setting. You can use either the green dot on the slider bar, or you can use the plus and minus buttons on the right side.
If you are not sure what pressure to set, look at the other material numbers and start with something you think may be similar. E.g., if it is a thick material, try starting with the Kraft board settings. If it is a thin material, try the copy paper setting.

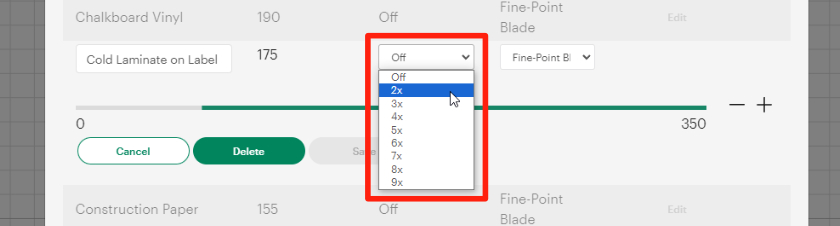
Step 8
Adjust the multi-cut setting next. This affects how many times the Cricut will make the same cut. If you have one circle, and the Multi-Cut setting is set to two, it will cut the circle twice.
A higher multi-cut is often used in combination with a lower pressure for thicker materials.
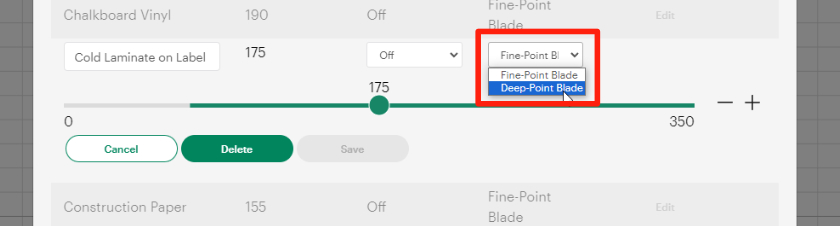
Step 9
Next, choose the blade type that fits the material (e.g., Fine-Point Blade, Deep-Point Blade).
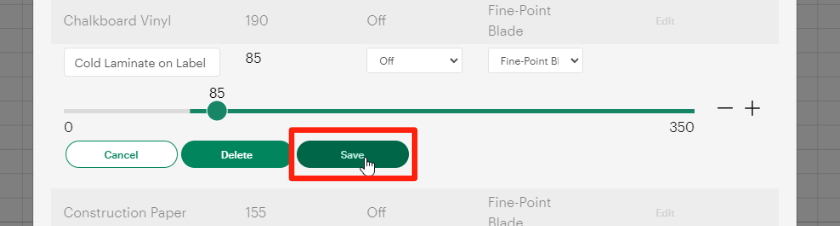
Step 10
Once you have adjusted the settings, click Save.
How to find your new custom material once it has been added
You will be prompted to select the Cricut machine you are using (e.g., Cricut Maker, Cricut Explore Air 2), as all material settings are machine-specific.

Step 12
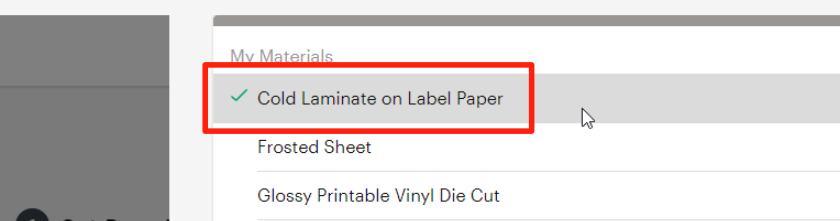
Under the All Categories drop-down menu, you will select My Materials.
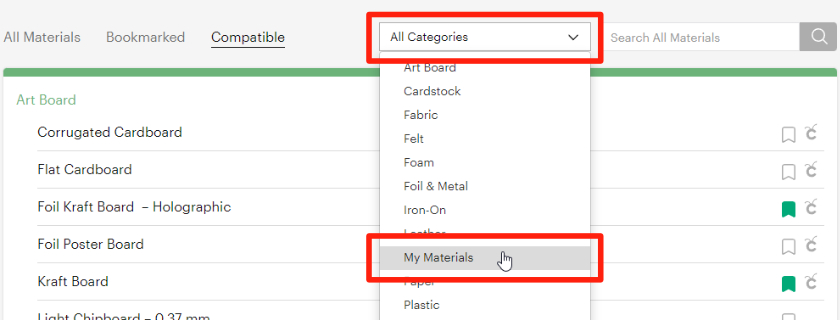
Step 13
The material we have just created will be on that list and you can click on it to select it.
Congratulations!
You have just learned how to add a custom material to your Cricut machine on Cricut Design Space. Now you can have fun with many new project types and learn so many more fun things!