You may have been asking yourself, what exactly is Cricut’s Print then Cut? You have probably heard ‘Print Then Cut’ and ‘Cricut’ in the same sentence, but don’t know exactly how it works. It is an extremely versatile feature in any crafter’s arsenal, that I frankly can’t live without!
Cricut’s Print then Cut is a feature where you can cut out designs printed onto a printable material. You use a home printer to print designs created in Cricut Design Space and cut them on your Cricut. This Cricut scans registration marks to know where your designs are and cuts them out for you.
Although that sounds pretty simple in theory, there is lots more to it. Some super important things you need to know before getting started are:
The Cricut uses registration marks to locate your printed design on your page
Cricut Design Space creates four L-shaped marks in each corner of your design or page. We refer to these as ‘registration marks’.
It uses these marks to know exactly where the page is on the mat, and where your designs are. Think of these as “GPS locators” as they help the Cricut find the Print Then Cut designs on your page.
These four marks are on each corner of your image and will change depending on how big your designs are. If the Cricut cannot see the marks, or they are not visible on the page, it will not be able to scan them.
When the Cricut isn’t able to scan the registration marks, your Print Then Cut project won’t be successful.
The Cricut uses a sensor to read the registration marks
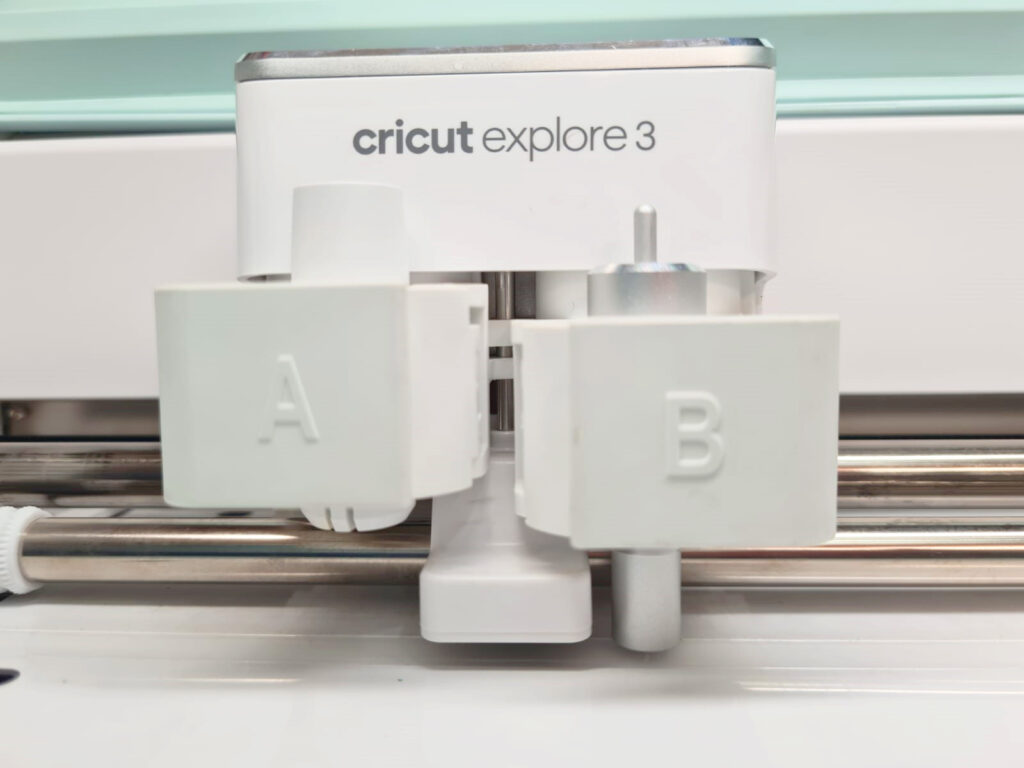
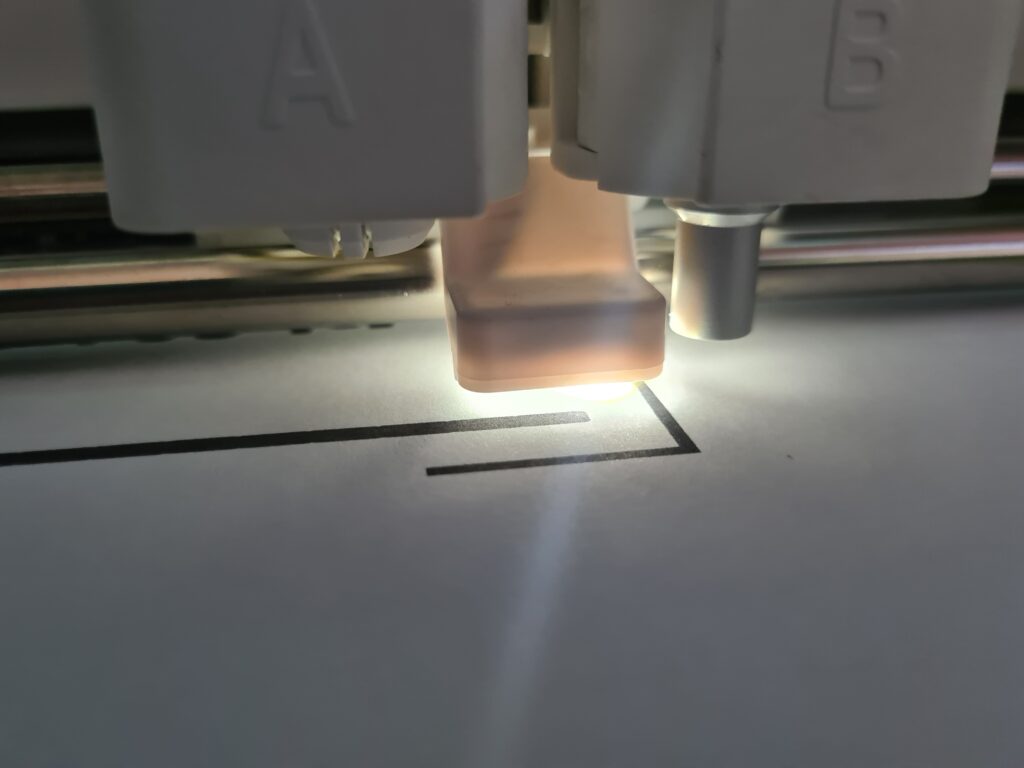
The Cricut machines that support Print then Cut have sensors that read the registration marks. These sensors also use a light that illuminates the page to more easily read the registration marks.
When using glossy materials this can cause some problems. Be sure to avoid bad registrations by using these tips for working with glossy material.
Registering the marks on the page
Once you start the cut, the machine will slowly cross over each of the four lines trying to locate them. You will see the sensor light up to allow the machine to see the registration marks on the pages.
It will scan the lines from the top down, as well as from left to right. The machine will read where each of the lines are until finally beginning the cut automatically.
You are limited by the cuttable area of your page
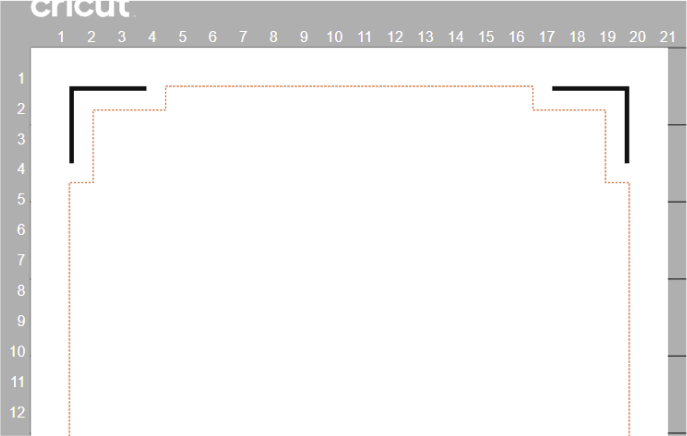
On the prepare screen, a faint red dotted line shows on the outline of your page. The software will not allow you to place any designs outside of this line.
This shows the edge of the space on the page that the Cricut can use for Print Then Cut. I use a template to make sure to stay within this border. You can access my templates for free here.
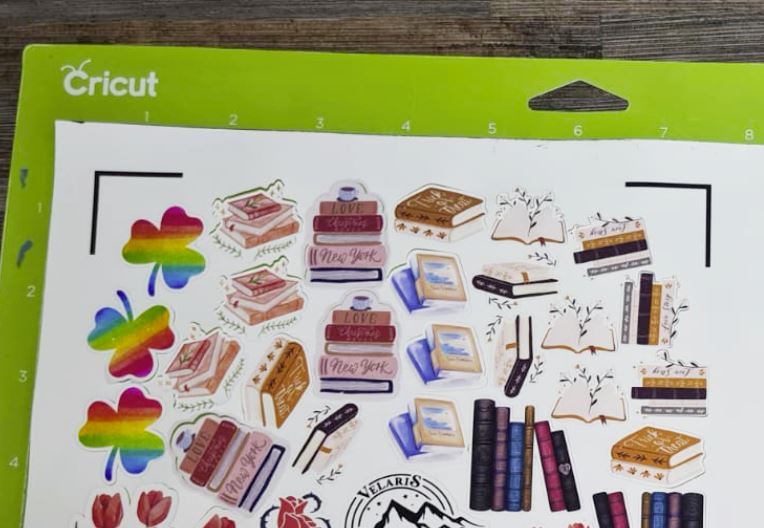
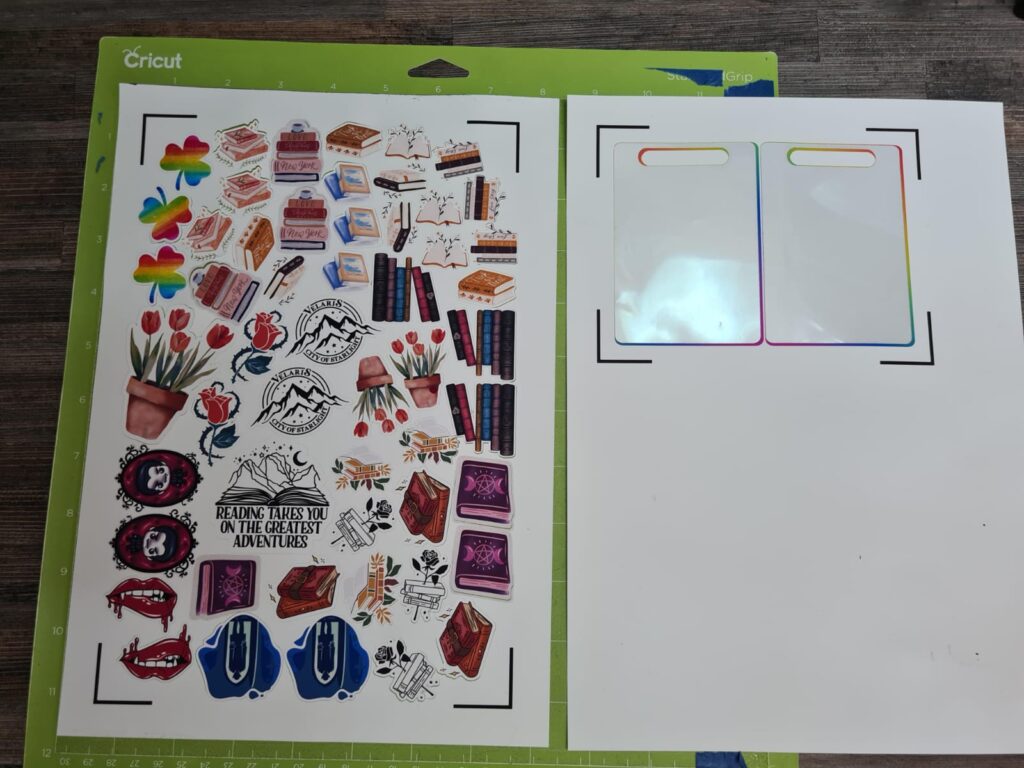
After cutting all of the designs on your page you will have something that looks like this!
If your design doesn’t end up with nice even edges like this something went wrong. It could be because of a calibration issue, glossy paper, or a faulty machine.
Check out some of my other resources below if your stickers didn’t turn out the way you want.


There are many times when Print Then Cut is not suitable for your project, so it is also important to know when not to use Cricut’s Print Then Cut. This blog post will help you learn when you may need to look for another solution instead.