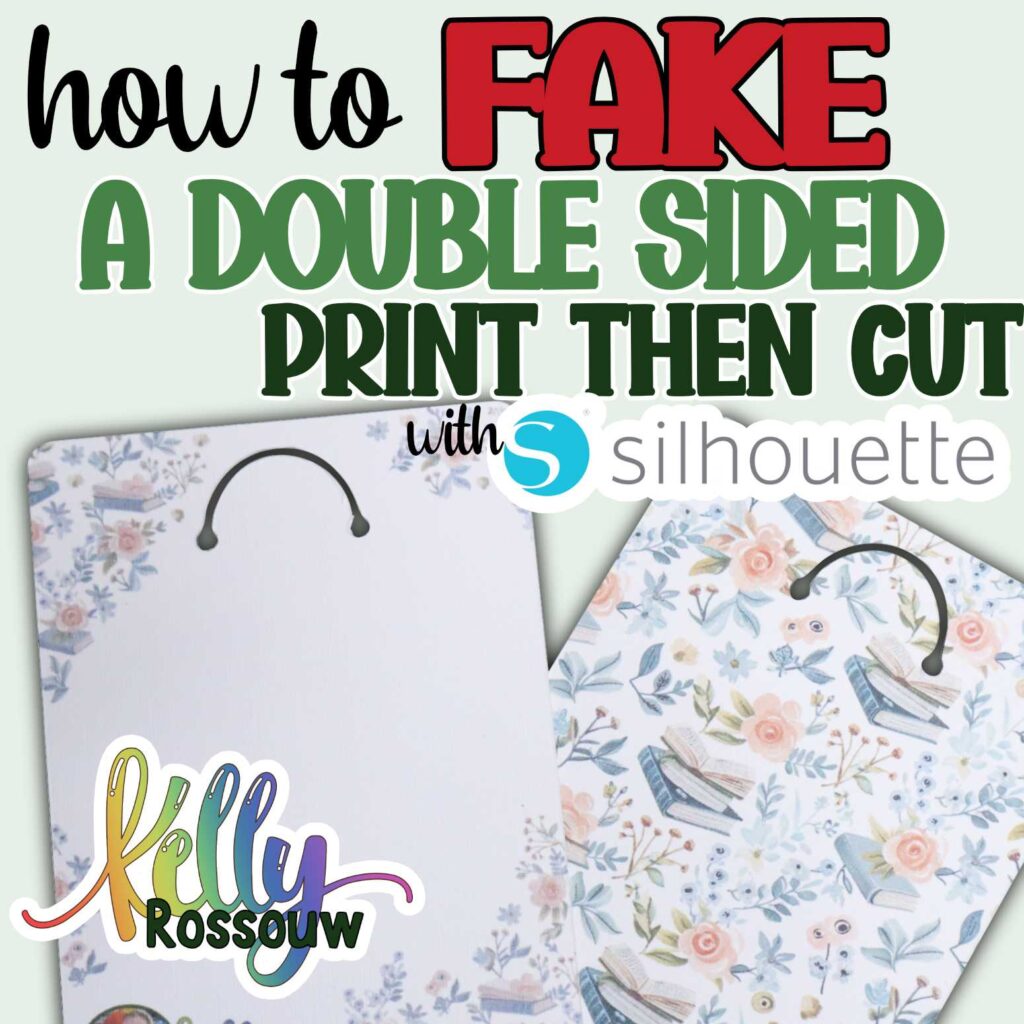
Printing a Fake Print Then Cut is way easier than a true double-sided Print Then Cut. You can use this method on product backing cards, business cards, invitations, bookmarks, gift tags and so much more!
The easiest way to fake a double-sided Print The Cut is by printing a full-page pattern on one side of your page. There are a few free ways you can create a full-page print, but it cannot be done in Cricut Design Space. You can use both Silhouette Studio and Canva to Print a full-page pattern
I am going to show you what files you need to look out for, as well as two free ways to achieve a full pattern page print so that you can elevate your projects
What you will learn in this tutorial:
- Image Type Needed to Fake a Double-Sided Print Then Cut
- Setting up our Silhouette Document
- Setting up our Repeatable Pattern in Silhouette Studio
- Printing our Seamless Pattern Page Made in Silhouette Studio
- Scale your patterns and make many more
Image Type Needed to Fake a Double-Sided Print Then Cut
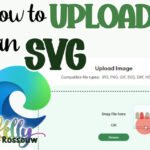
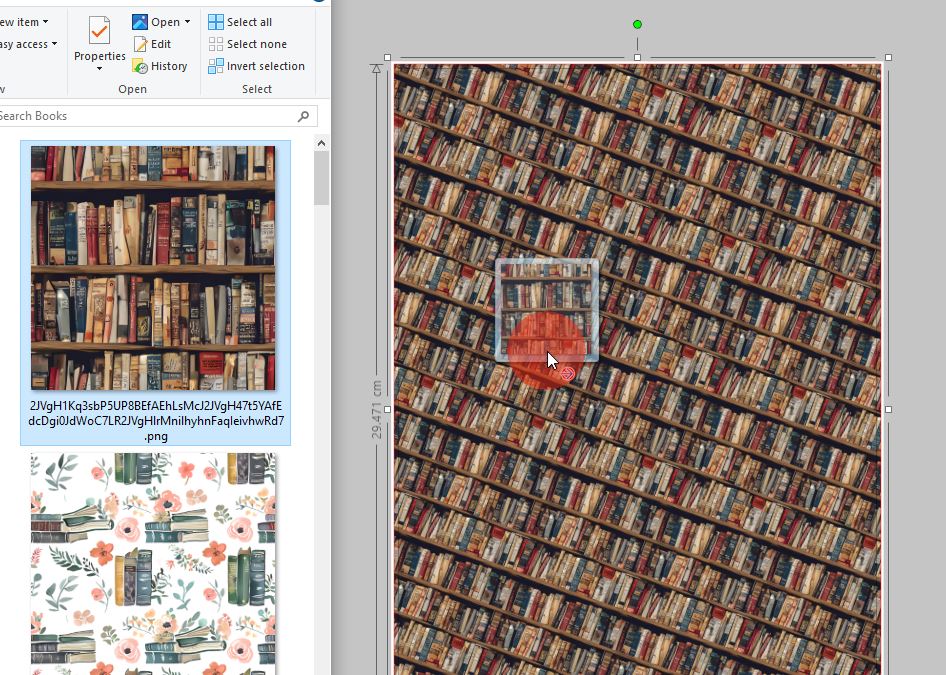
You can use many different file types, but the one you should use to get the best results is a seamless or repeatable pattern image.
A seamless pattern is an image that can be placed next to itself over and over again and not appear to be multiple different images. The pattern flows effortlessly over a larger space. Many images may be patterns, but they are not suited for a repeatable design. So make sure you choose a pattern that is a repeatable, or seamless one.
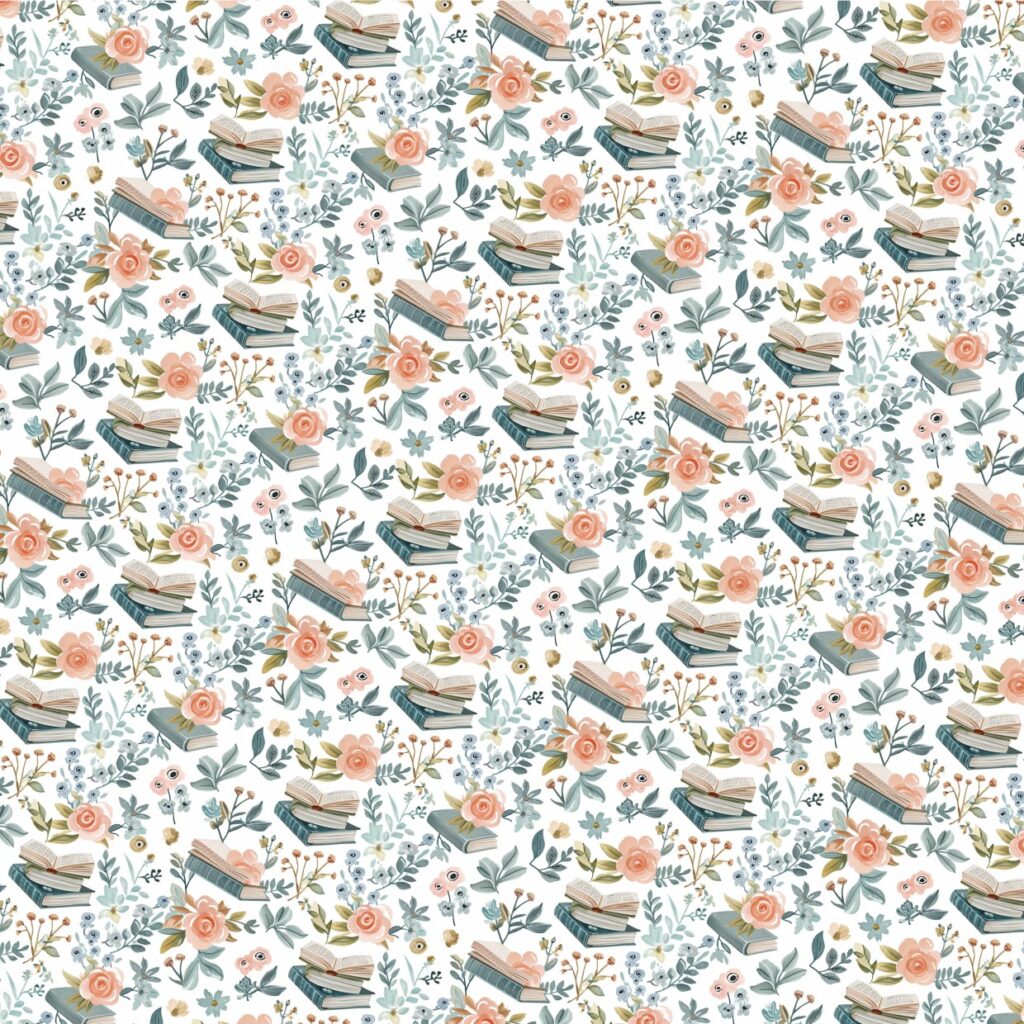
You can find many seamless patterns on websites like Etsy, or Creative Fabrica. The one I used for this tutorial can be found here.
Creating a Full-Page Pattern With Silhouette Studio
As the Silhouette Studio Basic edition is free to use, you can easily download it to print out your pages without needing a Silhouette machine.
You can download the software here. It shouldn’t matter too much which version you pick, some versions may be more stable than others. I am running a much older version: Silhouette Studio® Version 4.5.760. For this tutorial, it won’t matter which one you choose.
Download it and install it on your computer. It is not online-based, so you don’t need to be connected to the internet to use it.
There are only a few features you need to use here, but I am going to show you how to set up your canvas first.
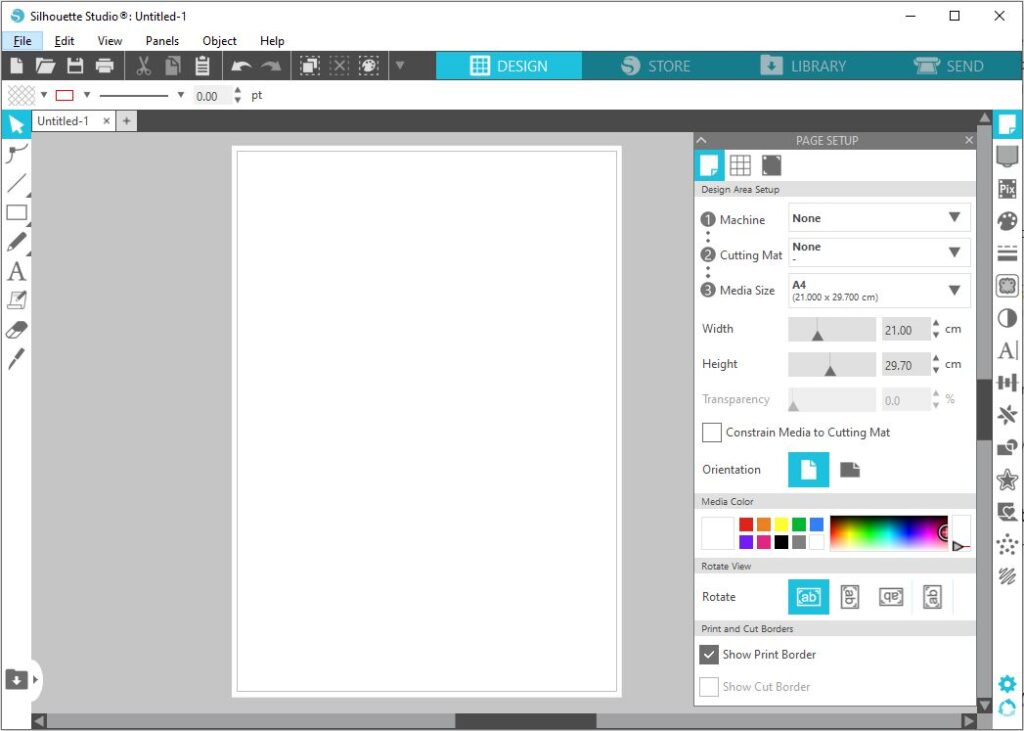
Step 1: Setting up our Canvas for the repeatable pattern in Silhouette Studio
On the right-hand side of the screen, you will see the page setup. This is where you change the white area of your page which is essentially your canvas area that will print.
Change your settings to match mine:
- Machine: None
- Cutting mat: None
- Media Size: Make sure this matches your page if it is A4, Letter, A3, or whichever sized page you are printing on.
- Check box of ‘Show Print Border’
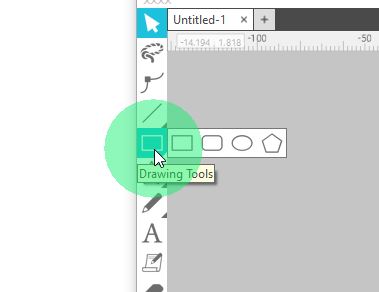
On the top-left of your screen hover over the box, which is labelled Drawing Tools.
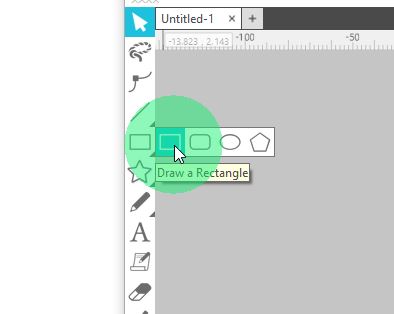
Click on Draw a Rectangle
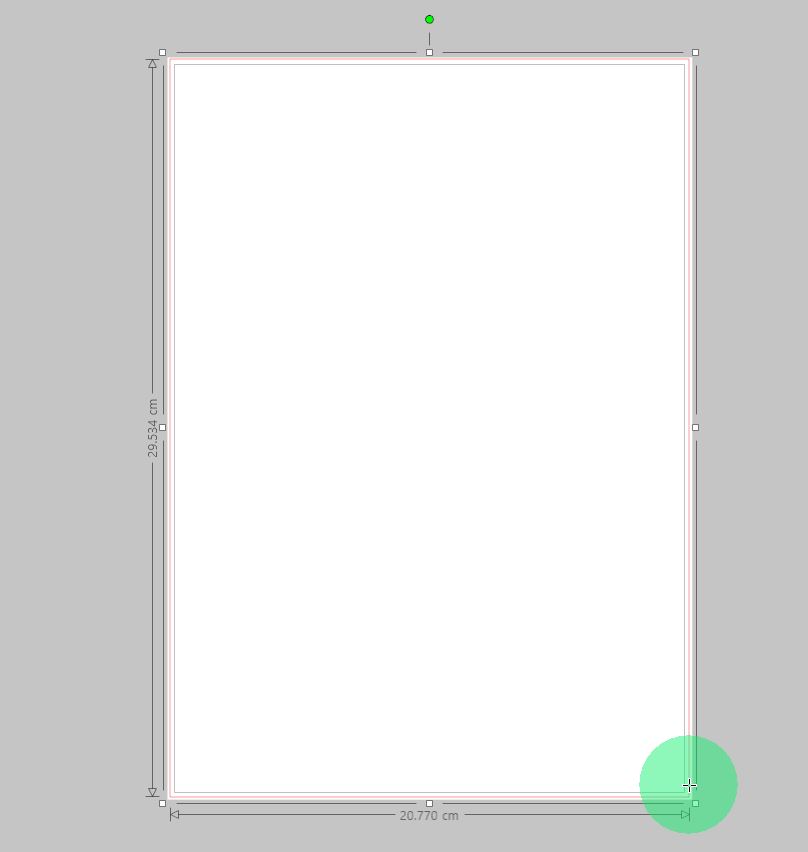
Click on the top left of your white block, just outside the grey line, and drag your mouse down to the bottom right corner.
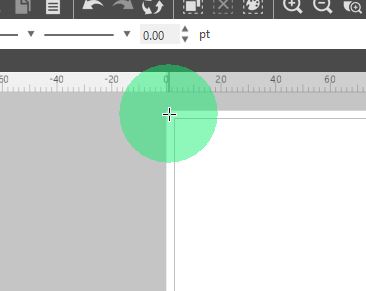
Make sure to cover the entire page. The red line is the outline of your shape and should be outside the grey line. If not, click on it, and drag the edges so they are outside of the grey line.
Step 2: Setting up our pattern in Silhouette Studio
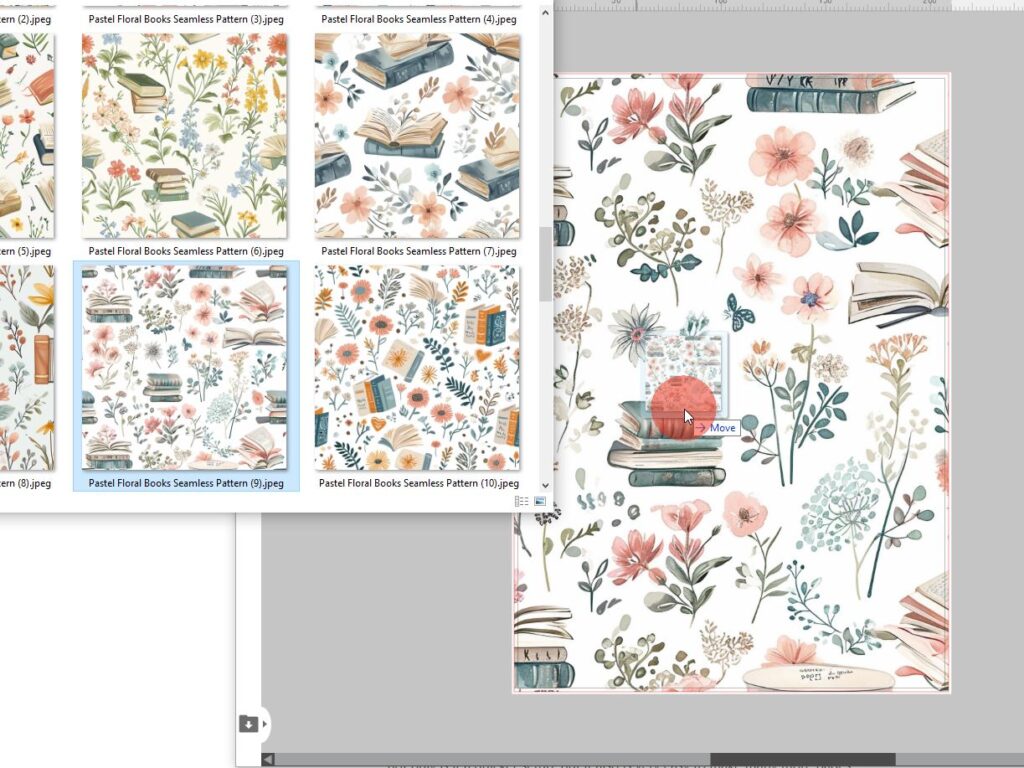
Open the folder where your pattern is saved, and drag the one you have chosen into Silhouette Studio. It should fill the box automatically. Note: You can only import png/jpg/bmp files with the Free edition.
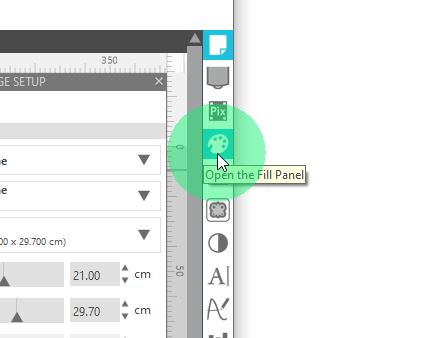
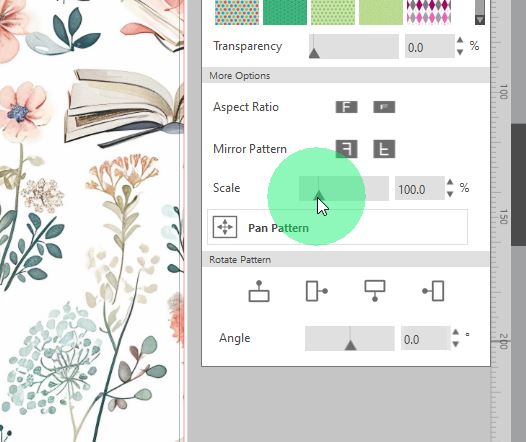
On the right-hand side, click on the art pallet button down showing Fill Panel.
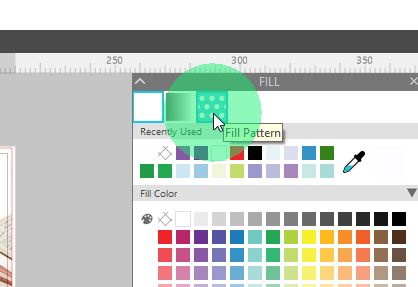
At the top left of the Fill Panel screen, click Fill Pattern.
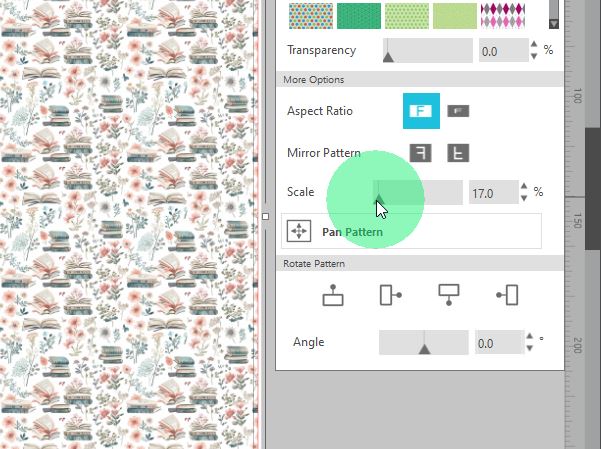
The bottom section of this panel is where we get to play with the size and angle of our pattern. By default, it is set to 100% but we can use the slider to zoom in or zoom out of our image.
If we make it a very low number like 17% for example, you will see it zoom out, and you can see the pattern repeat many times.
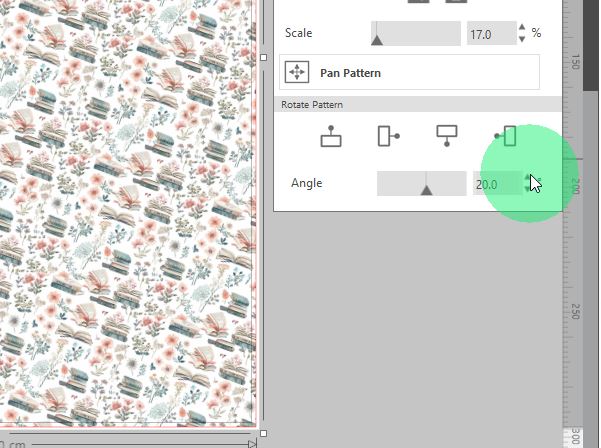
You can also change the angle of your pattern by increasing the number under the angle section. Play around with these settings until your page looks the way that you like it. Note: these settings may differ depending on the design you are using.
Step 3: Printing our pattern in Silhouette Studio
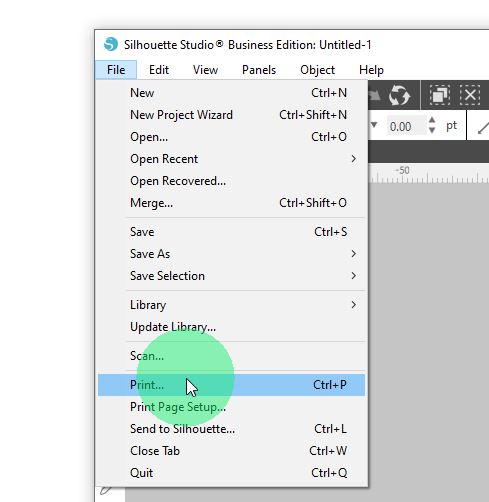
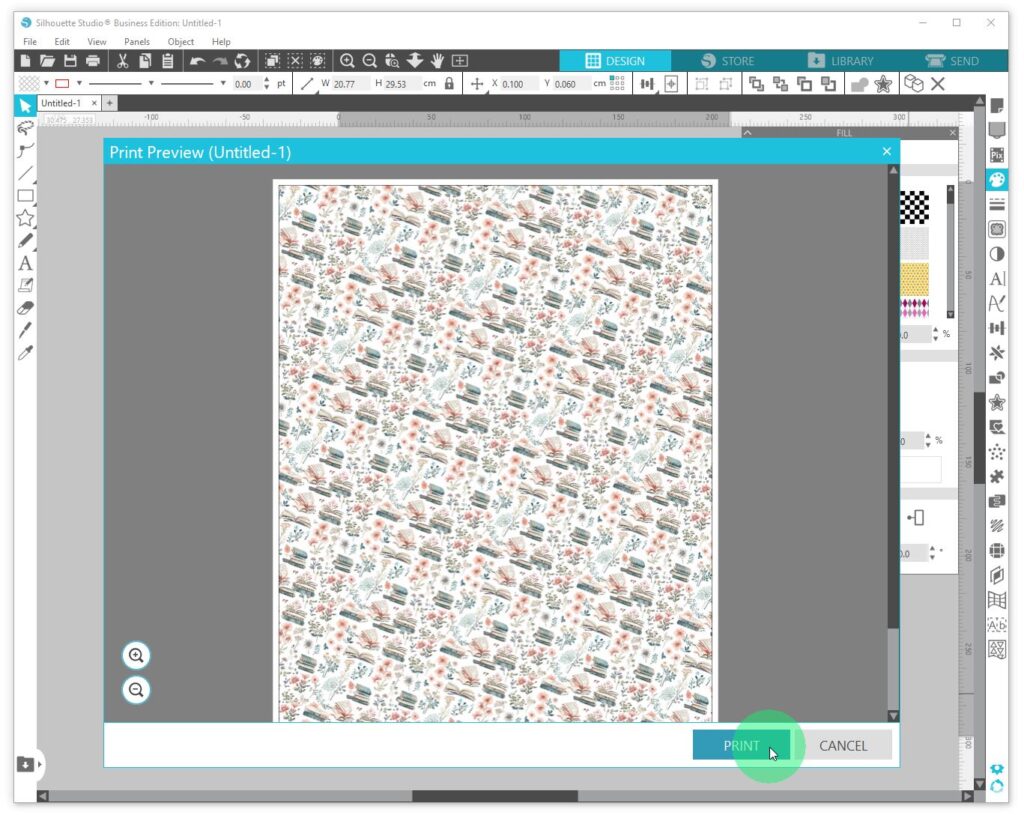
Once you are happy with your design and you are ready to print, click File, Print (or ctrl/cmd+P)
The Print Preview page will pop up so you can review what your page will look like before printing it out. Click Print if you are happy with it.
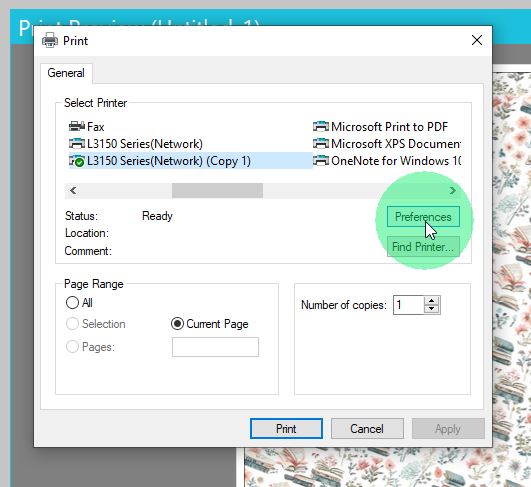
Select your printer and click Preferences to adjust the printer settings if you need to.
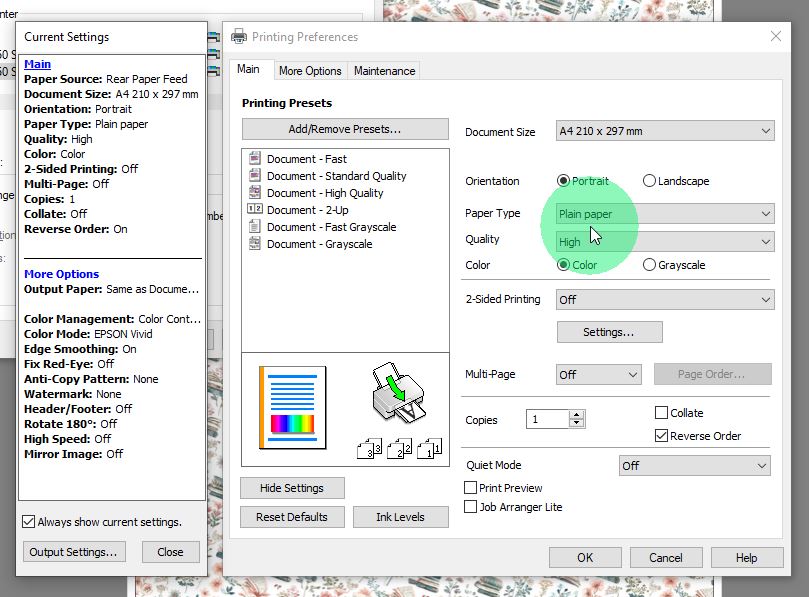
Make sure the Printer settings are optimised for the paper you are using, click OK, and Print.
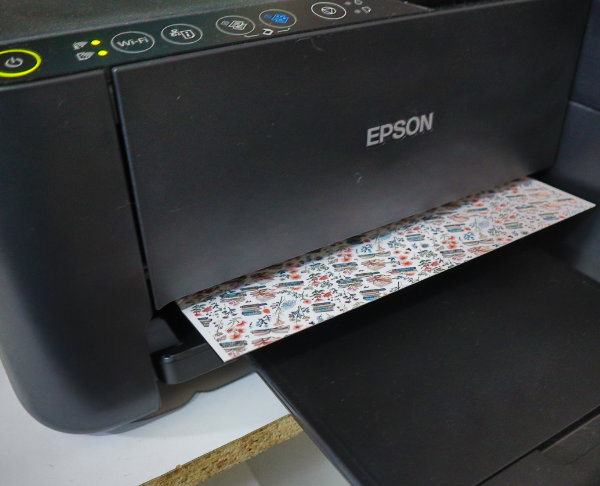
Watch your design print out!
Bonus Step 4: Making More Designs
If you like the way your page is set up, I encourage you to save your project, as using another design for more printed pages is as simple as dragging another image into the box you created.
All of the settings are retained for the next image you add in, so you can quickly and easily print out a few different designs
This is one of the main reasons why I prefer to use Silhouette Studio for my full-page designs, as not only is it a quicker setup, but it also is very easy to make many more pages!.
Note: You cannot save these as jpg’s/png’s without Business Edition
What fun pattern projects are you planning on making?
Share your projects with me on my Facebook group!