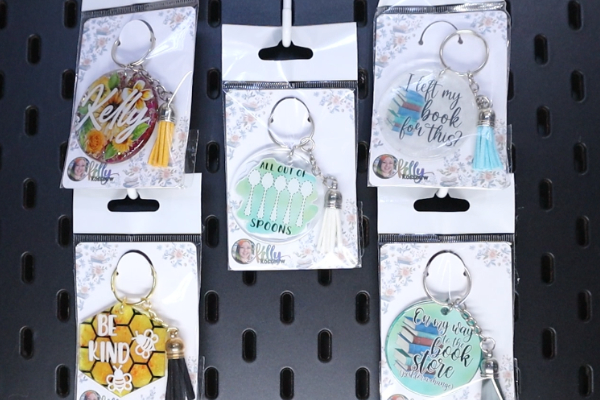
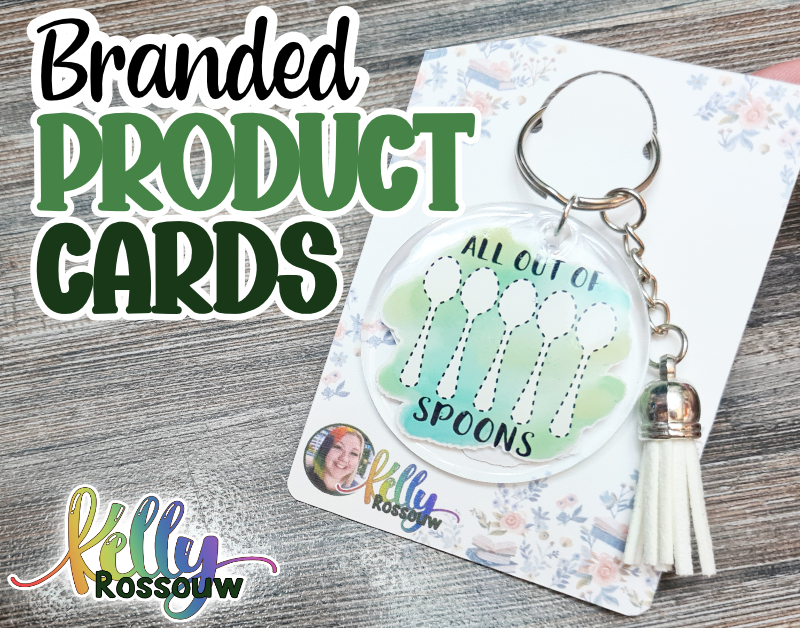
Adding Branding to your your product display cards is the easiest way to enhance your product, and provide a better customer experience. These are fun to do, and easy to make with a few very important tricks for the best result!
The materials you use are super important, as they all play a part in getting the best result. So make sure to closely follow the information in this post, and test many different materials within the guidelines outlined below.
This project is quick and easy to do, and produces such fun results, so lets jump in!
What you will learn in this tutorial:
Follow along on YouTube:
What Materials You Will Need
The materials I used to create this project are:
Machines + Tools
- Cricut with Print Then Cut capabilities
- Explore 3
- Standard grip cutting mat
- Brayer
- Epson ET-2800
Materials
- Cardstock or craft board (250-300 GSM)For durability and premium feel; consider finishes like linen, matte, watercolor, ribbed, or glossy. 250gsm Cardstock
- Keyring product (Acrylic Blank set)
- Self-sealable bags (with or without tags)
- Painters Tape
You Can Design Your Own, or Use Mine!
I have created a blank template for you to use.
You can upload this as is into Cricut Design Space, or use other software to create your own designs on the image.
Grab the file below.

Grab the free file here
While you can use many different types of files for this project, if you want to follow along with the exact file I used, you can grab it here by signing up to my mailing list.
Check your email to confirm your subscription and the file will automatically download.
Preparing for Your Project
Choose the Right Cardstock
Select a cardstock with a weight of 250-300 GSM for a sturdy backing.
You can choose between many different finishes to best suit your brand. From watercolour, linen, matte, glossy and more!
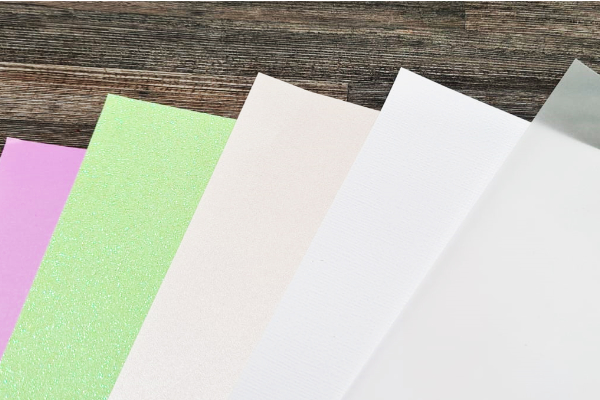
If you are using a coloured or textured cardstock, make sure to do a test print first. This allows you to have the best colour accuracy and vibrancy, as not all cardstock types will produce the same colour finish.
If you want to create a premium feel of your product, lean towards the thicker/sturdier cardstock. These are less floppy and will hold up better depending on the weight of the product.
Select a Compatible Printer
Ensure your printer can handle heavy cardstock, as not all printers work with thicker materials.
For printers that dont like thicker cardstock, like the Epson L3150, you may need to apply slight pressure to help the printer grip.
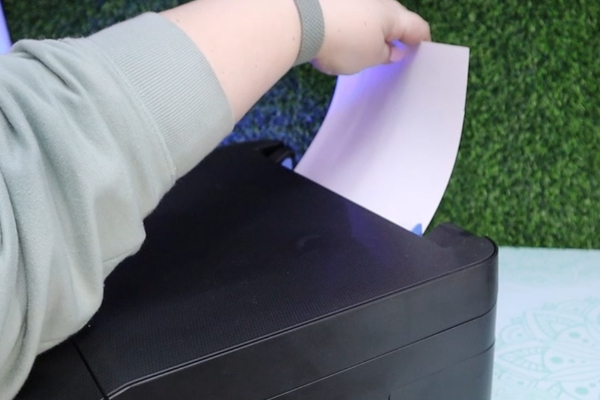
You may find some thicknesses just won’t be accepted by the printer. You may want to choose your printer wisely if you will be making lots of these, as printing off many pages using this method may become cumbersome if you have to apply pressure to each page for it to print.
Designing in Cricut Design Space
1 - Upload the Template
Upload the product backing card and Print Then Cut templates into Cricut Design Space.
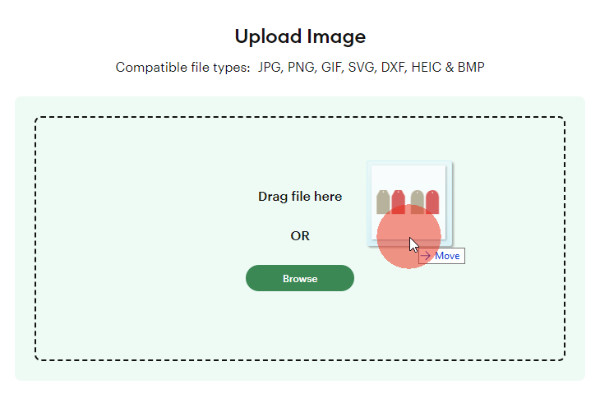
Add branding elements like logos and decorative patterns to the backing card
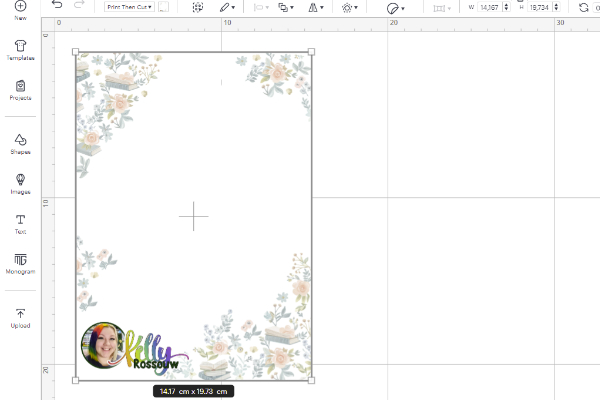
2 - Optimize Your Layout
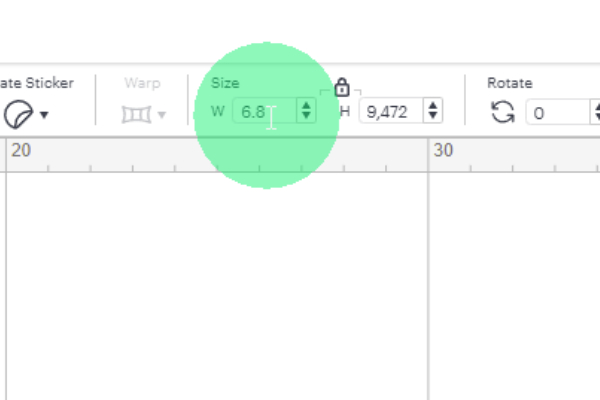
Resize the template to fit your needs (e.g., 6.8 cm or 2.67 inches wide).
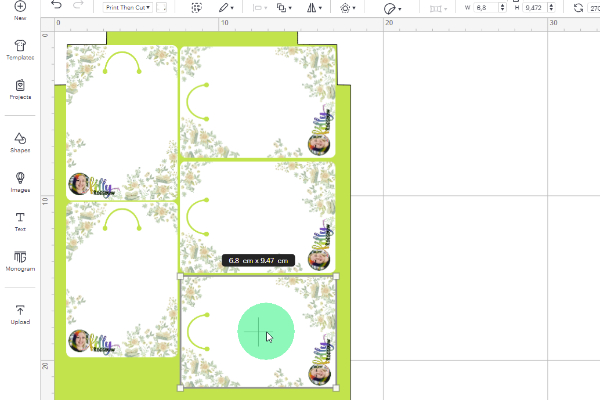
Use a Print Then Cut template to maximize space on your page and play “Cricut Tetris” to fit as many cards as possible.
3 - Prepare for Print Then Cut
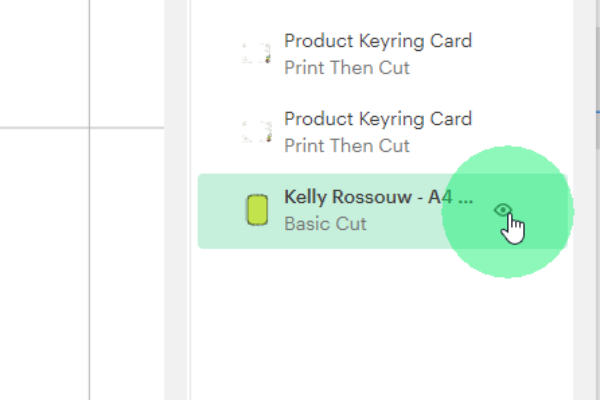
Hide the template layer by clicking on the eye in the layers panel.
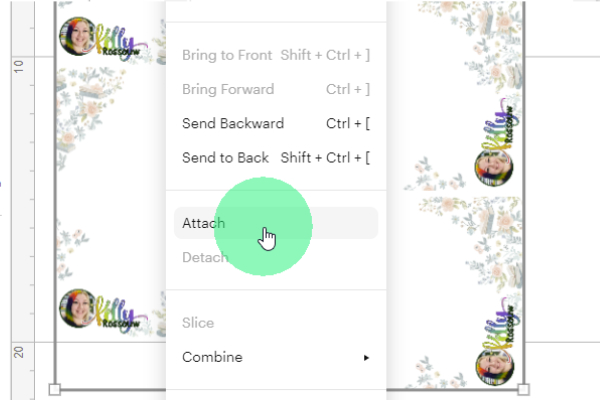
Select everything and Attach it together, and Save your project.
Printing and Cutting Your Cards
1 - Preparing The Print
Click Make, and then click Continue on the next screen without making adjustments.
Click Send to Printer.
2 - Configure Your Print Settings
Make sure the Bleed toggle is enabled, as we aren’t using a white border, we want to make sure there are no unwanted white edges!
Enable the System Dialog toggle so that you are able to adjust your print settings for your material.
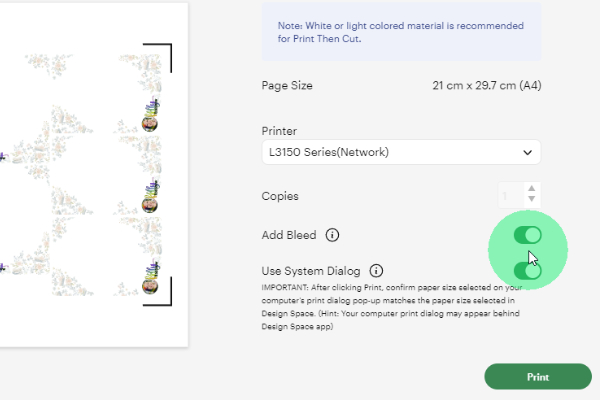
Adjust settings to match your cardstock type and desired print quality.
Make sure your document size matches
Once done, click Continue/Print until your page prints.
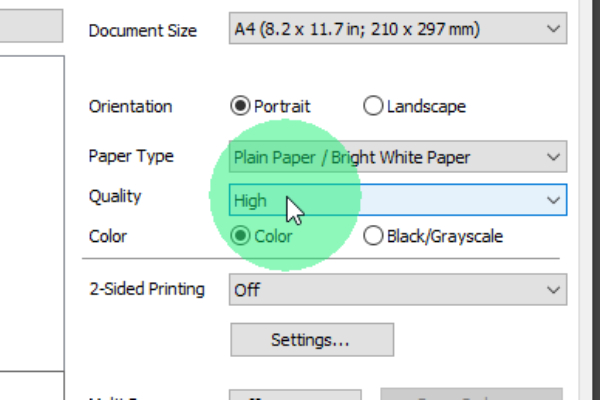
If you are using a thicker paper, remember to apply a little bit of pressure to the top of the paper so that it is gripped in immediately once the print initiates.

3 - Cutting your Product Backing Cards
Load your page onto the mat in the correct way. Double check Design Space, or look in the corner of the registration mark for the arrow showing you it needs to be in the top left corner.
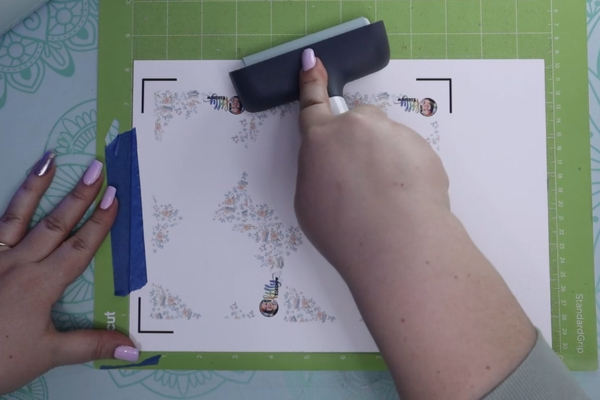
Initiate the cut on the machine, and before unloading the cut, check to see that it has cut through.
If it hasn’t cut through, re-run the cut.
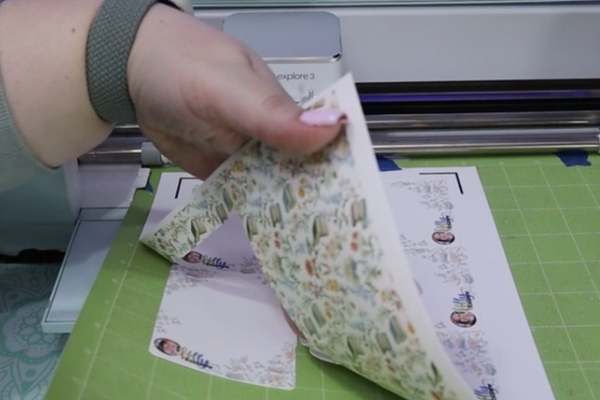
Assembling and Finishing
Assembly is the easy part, where you simply need to hook the keyring over the round cutout section.
Slide the keyring into the hooked sections below.
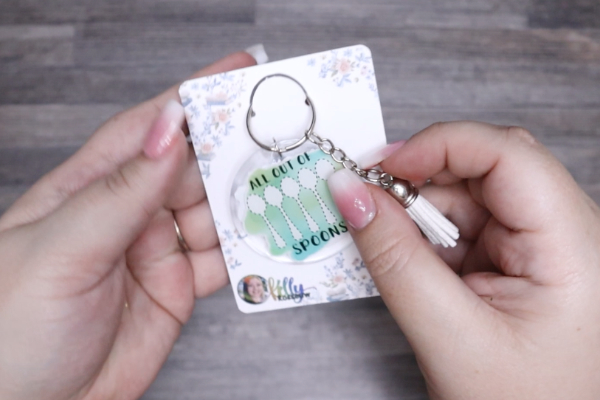
Slide the card into the packet, and secure it with the seal.
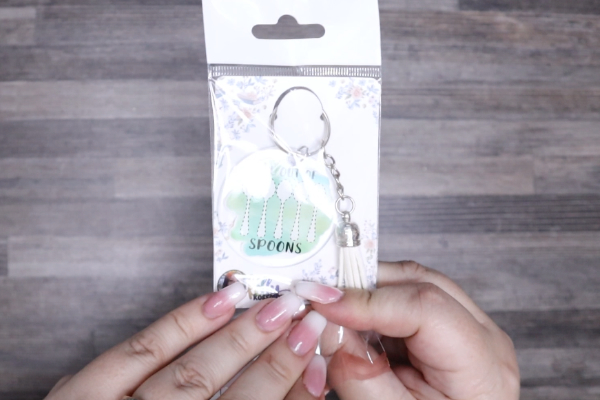
Your product is now ready to display anywhere and shine in how amazing it looks!
