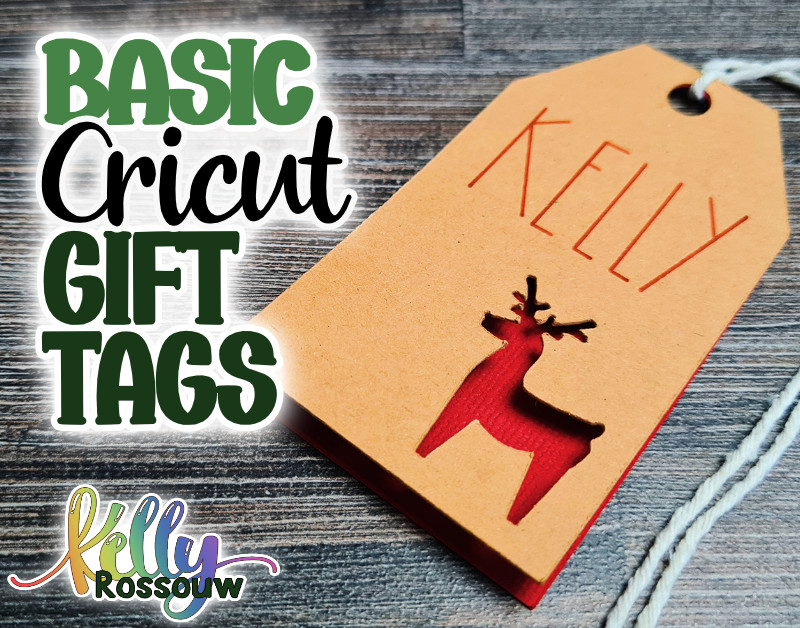
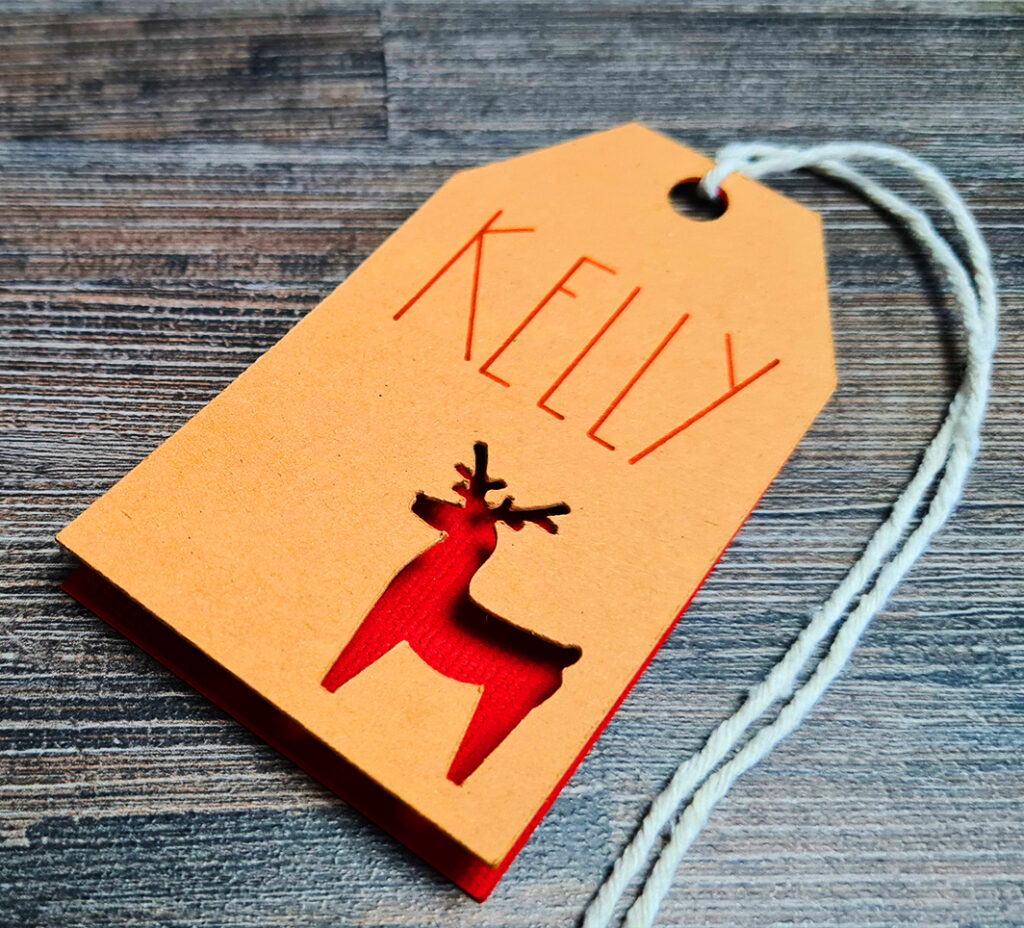
I tend to DIY gift tags with my Cricut every single year, because it is just so easy to do! I change up the font, colour and paper, and they look amazing every single year.
We will use a ready-made file to upload into Design Space, add our text, duplicate the shape and attach them to create our tags. We can also cut additional pieces out of a fun coloured paper to add extra dimension to the project.
Let’s get started on making stunning gift tags that can be customized and reused for future occasions.
What you will learn in this tutorial:
Follow along on YouTube:
What Materials You Will Need
The materials I used to create this project are:
Machines + Tools
-
- Any Cricut Machine (I used my Maker)
- Premium Fine Point Blade
- Brayer (optional)
Materials
- Kraft board
- Fine Point Cricut Pens
- AC Cardstock
- Optional: Patterned Paper to match your theme
You Can Learn To Create Your Own Shape, or Use Mine!
In the first section I am going to show you how to create your own gift tag shape, but if you prefer to use my shape, you can get it below.
Fill in the form, and check your inbox for a link. Once you confirm your free subscription to my mailing list your download will automatically start.
You can unsubscribe at any time.
Grab the free file here
While you can use many different types of files for this project, if you want to follow along with the exact file I used, you can grab it here by signing up to my mailing list.
Check your email to confirm your subscription and the file will automatically download.
Not sure how to upload your design?
Check out this post on how to upload a SVG to Cricut Design Space before continuing on with this tutorial.
Once your file has been uploaded to Design Space, you can come back and continue.
Step 1: Setting Up Your Gift Tag Shape
I am going to show you how to set up your shape using a Square and a hexagon, but feel free to try any shape you want to combine them in fun ways – there is no right or wrong option here!
Choosing Shapes For Your Gift Tag
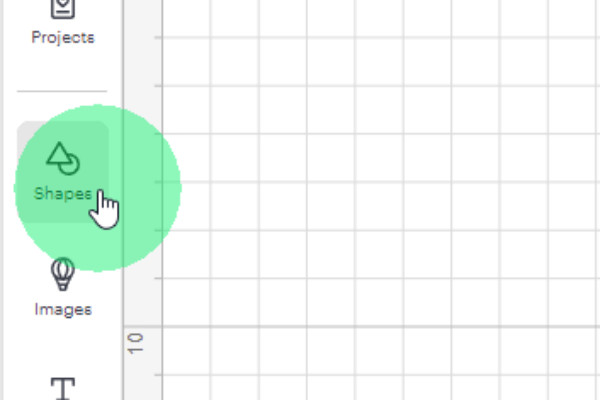
Open a new canvas in Cricut Design Space. Use the “Shapes” button on the left to access various shapes for your design.
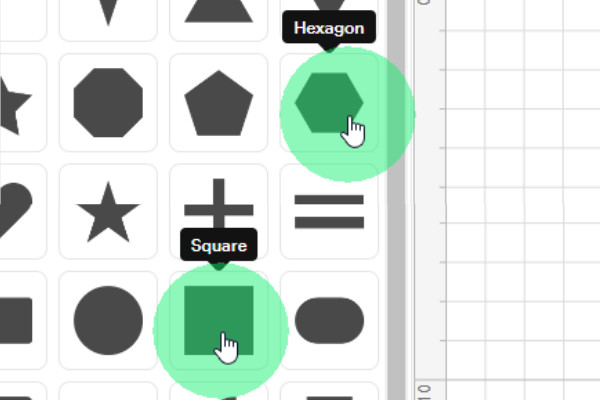
Select a square, followed by a hexagon to layer on top of the square.
Adjust and Resize Shapes
The size of the square will determine how big your tag is going to be. We can stretch it out so your tag is longer, or you can leave it as-is for a shorter tag.
I wouldn’t recommend changing the size of the hexagon as this will stretch the shape, and it may not look the way you want it to look (but if you like the shape – you absolutely can!).
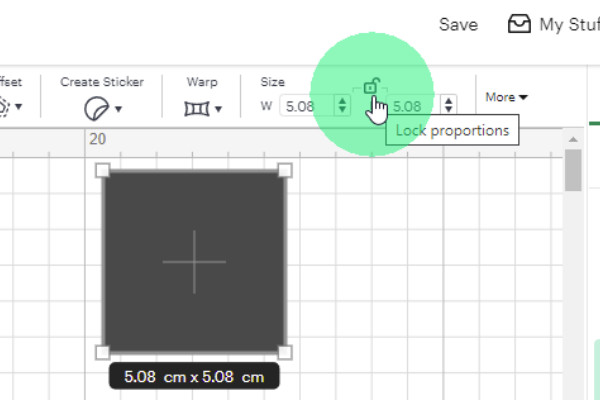
To stretch the square, click the padlock in the size section to unlock proportions.
Change the height to 6-7 cm or 2.3-2.75 inches for a longer tag.
Aligning them perfectly can be tricky, we want to take our time with this step.
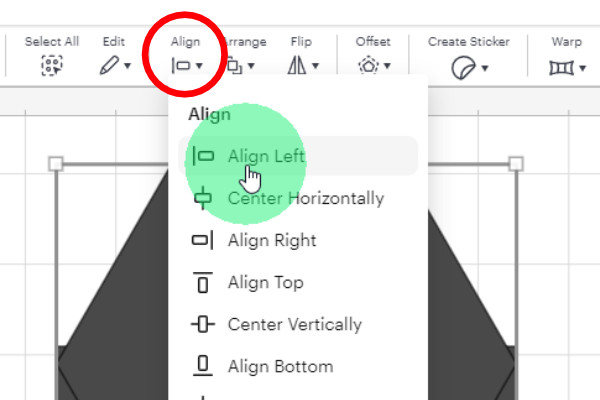
You can also use the alignment tools to fine-tune the placement of the hexagon on top of the square.
I find zooming in very close to be a big help in making sure they are aligned, so I can see any gaps.

Merging Shapes To Create Your Tag
Select both shapes and use the “Combine” feature.
Choose “Unite” instead of “Weld” if you want to allow for future adjustments before slicing.
This process merges the shapes, creating a single, solid layer that serves as the tag base.
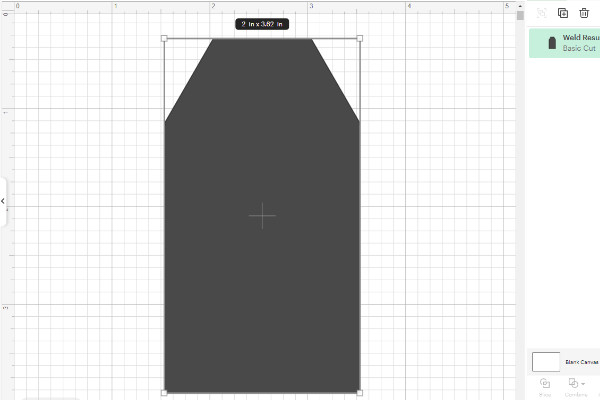
Adding a Ribbon Hole
If you want to secure your tag to your gift with a little bit of twine or ribbon, you will need to add a hole.
Add a small circle by selecting “Shapes” and resizing it to around 0.7 cm / 0.25 inches.
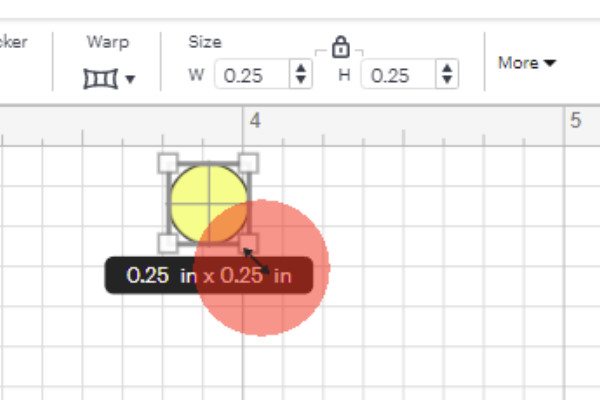
Align the circle at the top center of the tag base, and use the “Slice” function to create a hole for threading ribbon or twine.
Make sure to leave enough of a gap between the top of the shape and the circle. A small gap will tear easily.
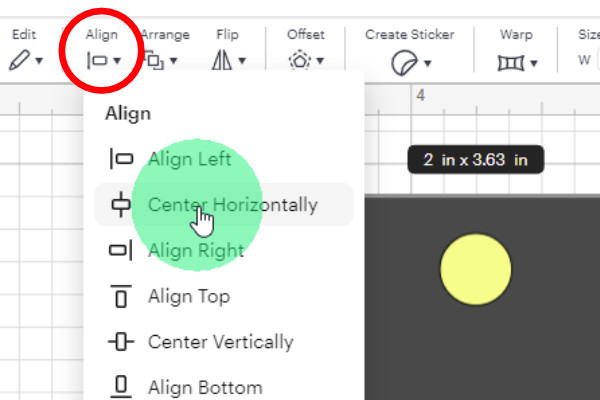
Move your tag to the side, and delete what remains behind.
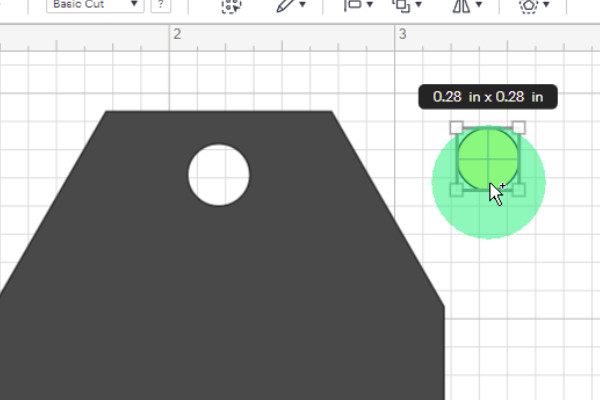
Optional Step 2: Adding Design Elements and Layering
Duplicate and Add a Second Layer
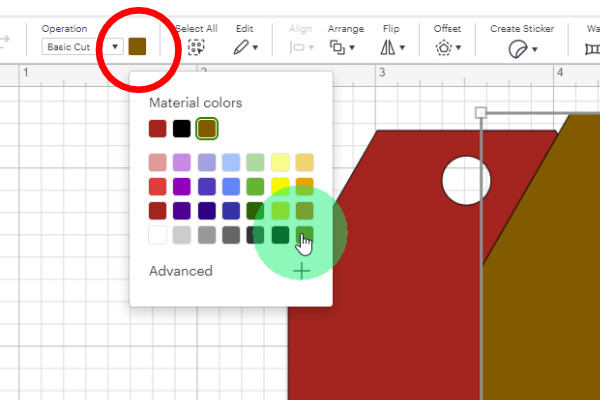
Duplicate the base tag layer and change the color to create a layered look (e.g., red and brown).
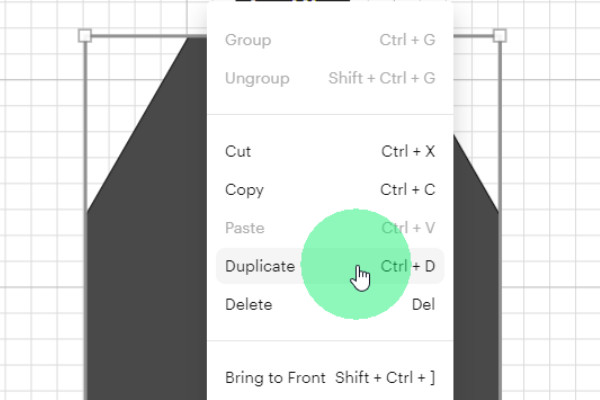
Experiment with layering different colors to create a multi-dimensional effect.
To Add a Cut-Out Design
Use the “Images” tab to search for a shape like a reindeer or star. Place it on the tag, align it
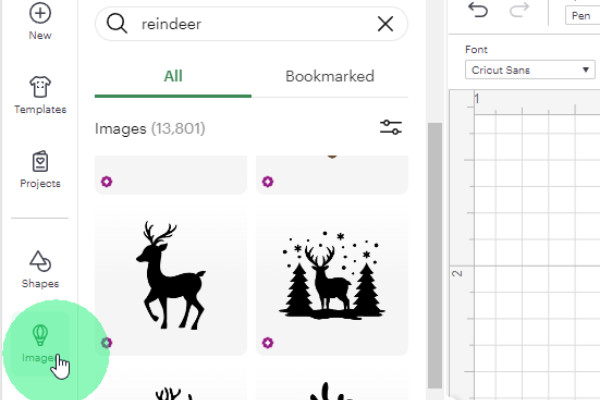
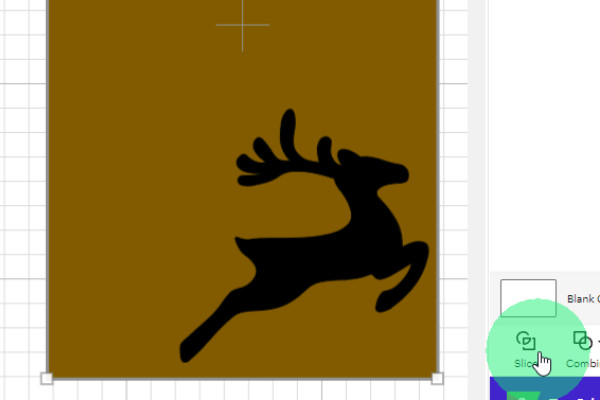
Select one tag layer, and your fun shape and click “Slice” to cut out the shape, giving your tag a fun, festive touch.
Make sure your shape is solid, any bits not connected to the outside will fall away. This is essentially a stencil.
Note: If you used “Unite” this will remove the ability to reverse this at a later stage. Make a copy before you slice if you want to be able to change the shape in the future.
Step 3: Personalizing the Tag with Text
Add Text to the Tag
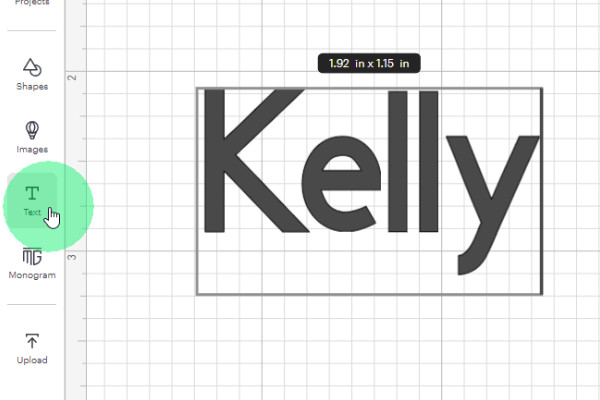
Click on “Text” to open a text box, type in the desired name.
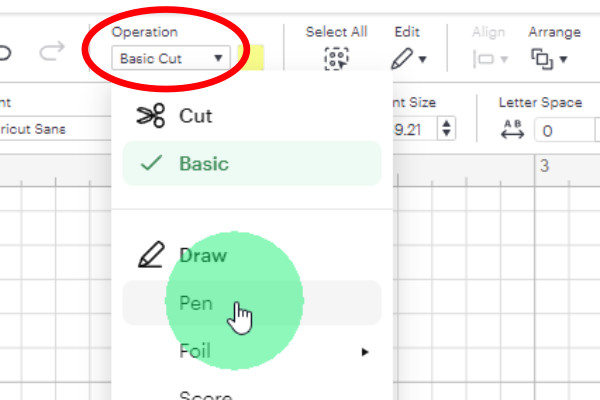
Set the operation to “Pen” to draw an outline instead of cutting.
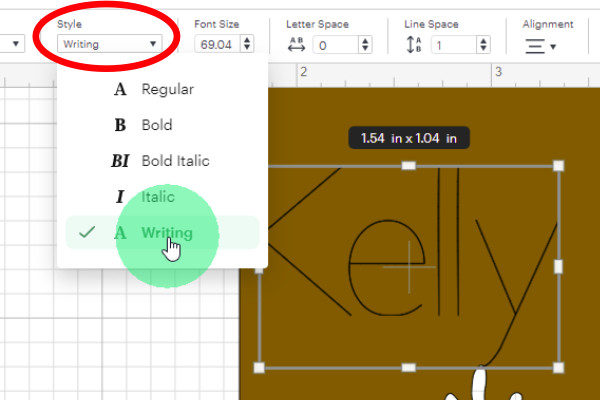
Adjust the font style to “Writing” for a single lined, handwritten look.
Choose and Style a Font
Under the Font section, search for a Cricut font like “Bright Christmas” for a festive look. The text will take a few seconds to download if it’s your first time using it.
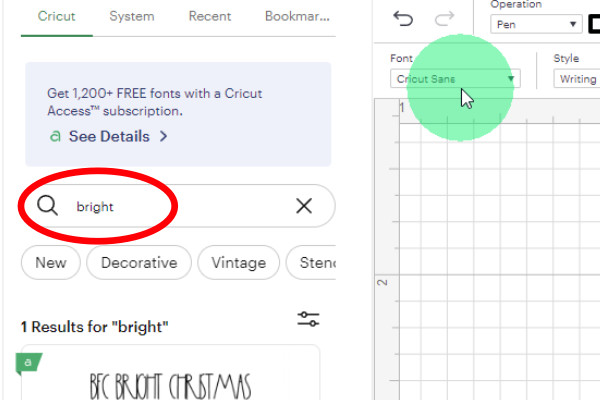
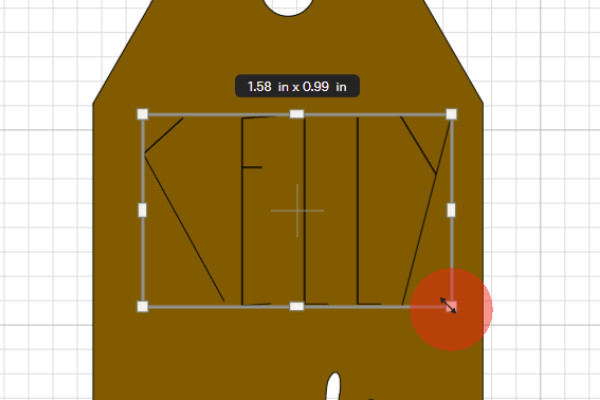
Position and size the text to fit the tag’s design.
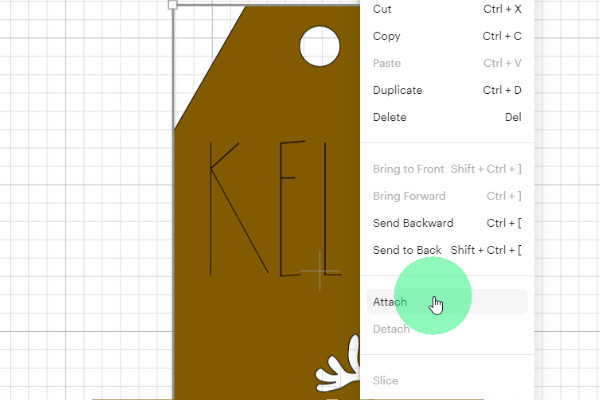
Select your Text and your tag layers, and click Attach, so they stay together while cutting.
Step 4: Cutting Your Design
Cutting and Drawing Your Top Layer
Place cardstock on your Standard Grip mat, secure with a brayer, and load into the machine.
Make sure to load the correct colour and layer you want to cut first. Use the colours in Design Space to co-ordinate which pages you cut first.
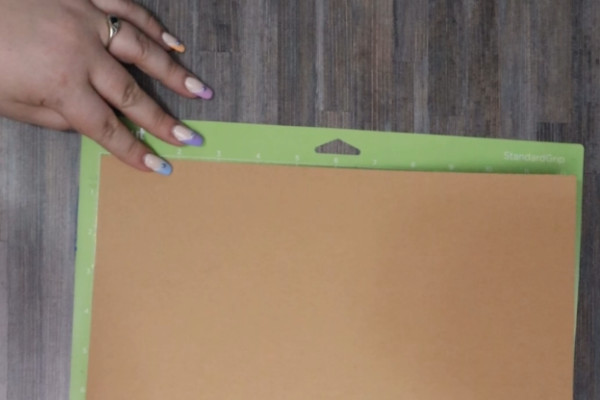
Choose “Medium Cardstock” or “Cricut Craft Board” depending on the material, making adjustments as needed.
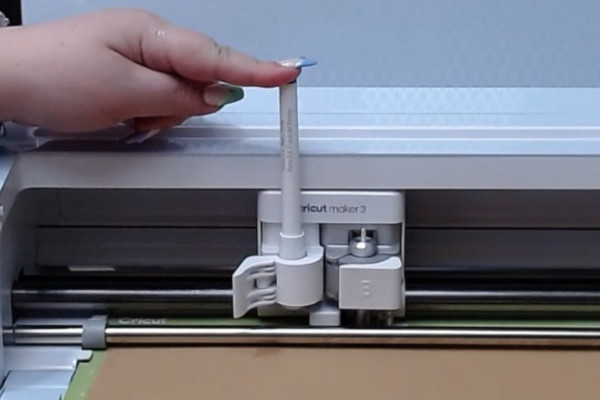
If you are cutting the top layer with the writing function, check to see which pen colour you have chosen.
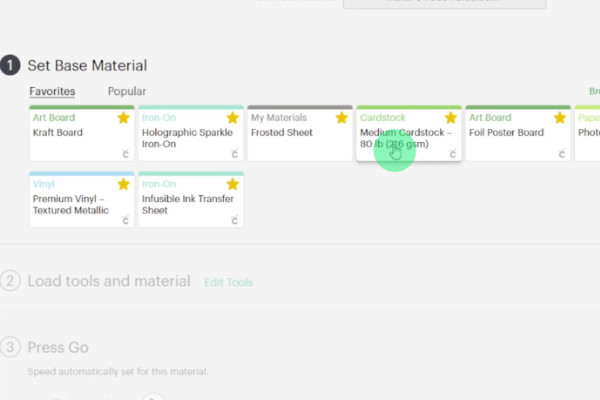
Load the chosen pen colour into your Cricut, and initiate the cut.
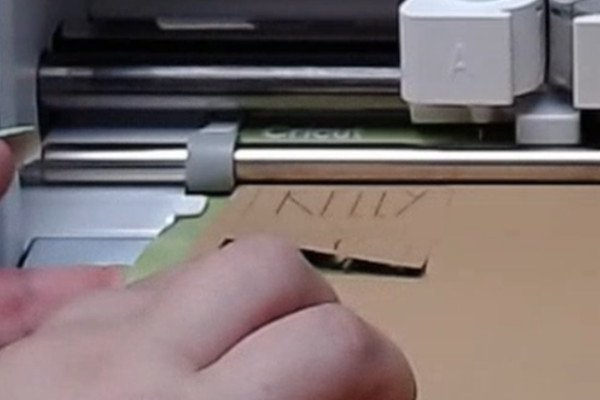
Before unloading, check your cut to make sure it has gone through cleanly, and all your letters are written.
If not, re-run the cut by pressing the Play button again.
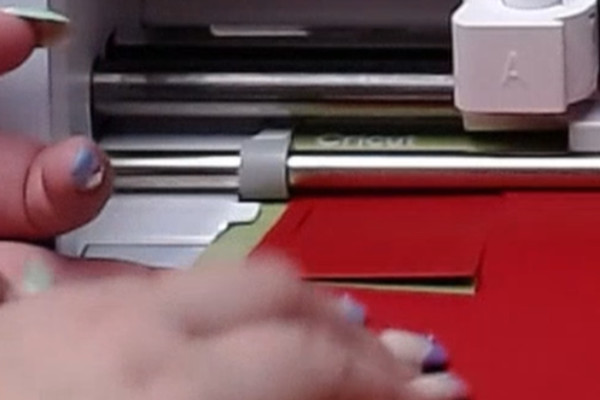
Cut the second base layers out of your coloured cardstock or patterned paper.
Step 5: Assembling Your Tags
Remove the cut pieces from the mat, glue layers together using dual-bond craft glue for a strong hold, and align them for a 3D effect.
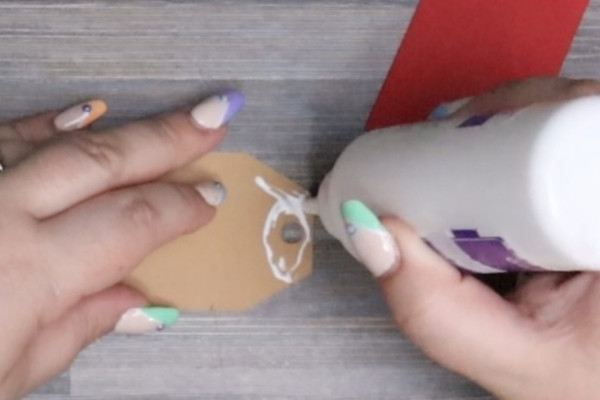
For a more flexible look, attach the layers only at the top and allow them to swing slightly.

Thread twine through the hole, and your personalized gift tag is ready to attach to any gift!

