Kelly Rossouw
Kelly Rossouw is a very creative and colourful South African content creator that loves sharing her knowledge to anyone who will sit still for long enough!
Helping people with their crafting projects of all types from Cricut crafts to Silhouette problems, to general crafting projects - she loves learning more about many different kinds of project types and helping others with theirs!


5 Responses
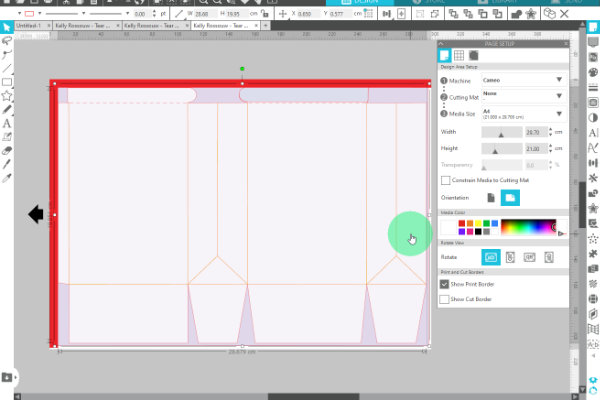
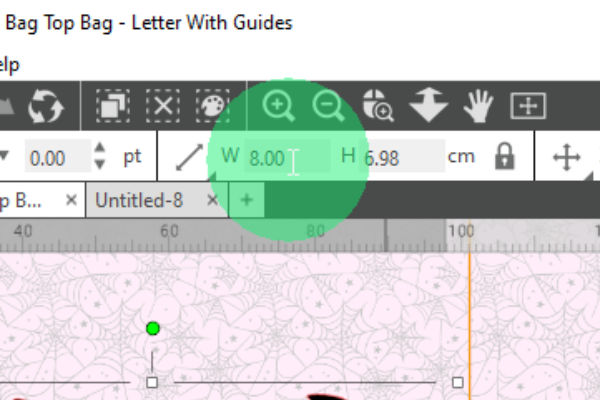
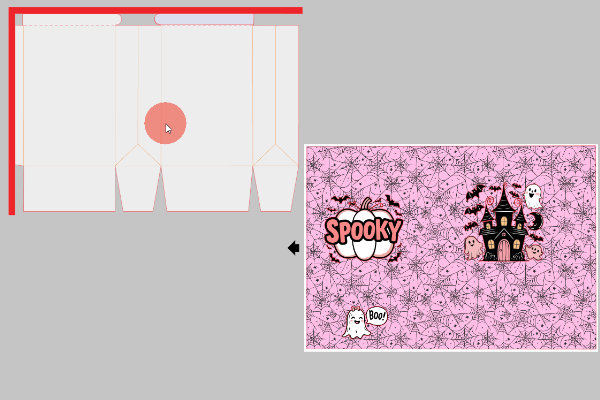
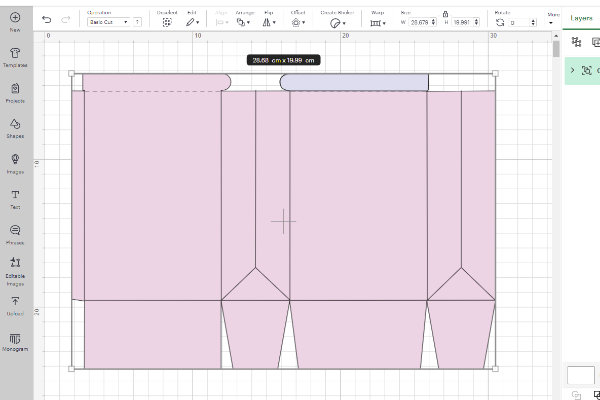
What is the size for this bag? When I uploaded the Letter size template, it came into DS at 3.72 x 2.83. I’m guessing that is not correct!
Thanks for any help you can give me!
Oh no! I think they changed something recently (again…)
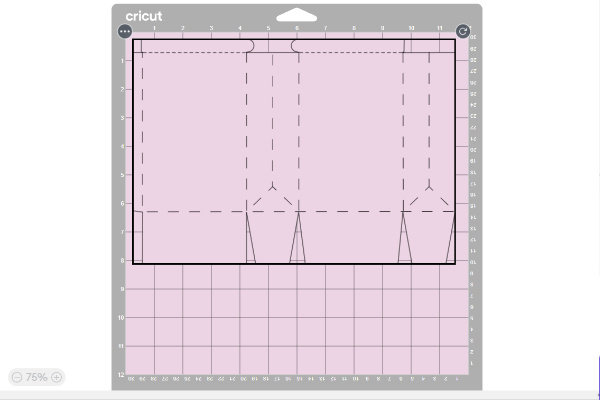
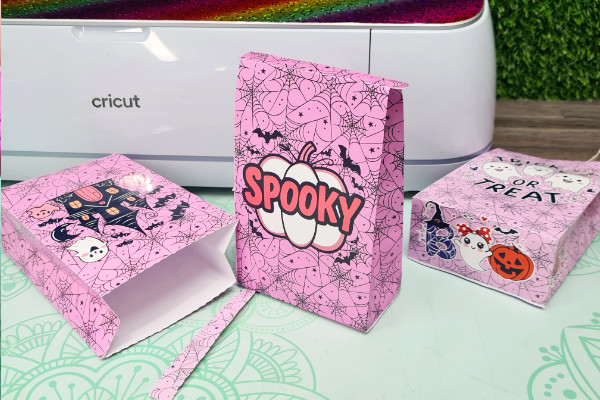
The approximate dimensions for the Letter template that needs to be uploaded into Cricut Design Space is: 7,98″ x 10,51″
Hope this helps!
Oh my gosh these are sooooo Adorable. I just made one and the possibilities are endless.
Thank you so much for teaching me to make these treat bags.
You are so so welcome! So glad you managed to make something fun!
These are so cute. I hope to try some of these soon. Thank you for sharing!