Print Then Cut is one of the most fun features that a Cricut has to offer. It is incredibly versatile and can cover so many different project types.
There are a few key principles that are crucial to understand before beginning your first project. We are going to cover the basics of Print Then Cut to make sure that you are in the best position to launch your first Print Then Cut projects flawlessly!
Please remember one thing – be kind to yourself on your journey. We don’t always get everything right the first time, and getting it wrong is totally ok!
Before getting started...
To set yourself up for success on your first Print Then Cut project, we need to make sure we have the materials and machines that we need for our first Print Then Cut project.
Do you have the right Cricut Machine?
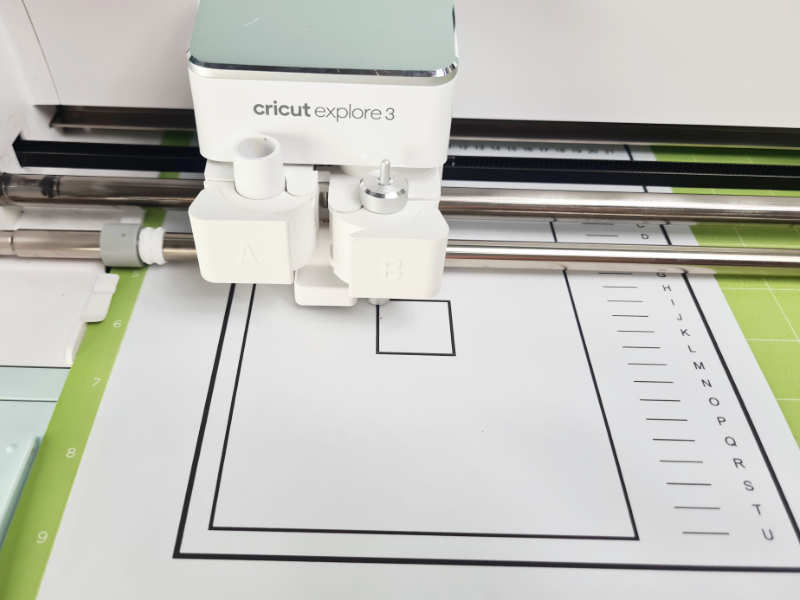
Not all Cricut machines support Print Then Cut as they don’t all have the sensor needed to read the registration marks. In order to get started with Print Then Cut, you need to make sure your machine supports the Print Then Cut function.
The machines that support the Print Then Cut function are:
For the best experience, it is recommended that you have a printer at home to use Print Then Cut. There are many different kinds of printers you can use, look here to see what kind of printer you need.
Although you don’t need a printer in your house to be able to use Print Then Cut, you will need access to one at some point to print out your designs and calibration sheets.
In order for your ink to dry properly once printed, you need to be using a printable material. When searching for a material to use, it needs to specifically state “PRINTABLE” in order for it to be guaranteed to work.
You will also need an image, SVG, or design to print out. As we will be printing this out the file type that you need here is extremely flexible. You can use anything from plain text, a downloaded design, or a photo you took!
My favourite place to find designs to use for Print Then Cut projects is Creative Fabrica. They have an inexpensive subscription model where you can download what you need instead of paying for each item individually.
Understanding Key Print Then Cut Principles
These key principles are very important to explore before starting your first Print Then Cut project. In order to understand and be able to troubleshoot what might go wrong, these will almost always be the source of your frustration.
Use a Solid Background
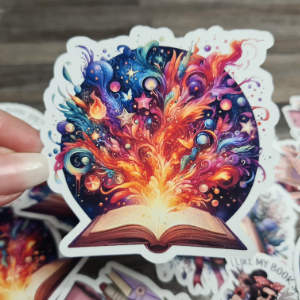
The most common type of Print Then Cut object that people want to make are solid stickers that can be easily lifted off the sheet and stuck down. This type of project needs a solid background.
In order to make a Print Then Cut object with a solid background you need to create the shape in Design Space that you want your sticker to be cut out of. The most popular method is to use an offset of your design, but you can also use any solid shape.
Anywhere you can see the grid lines of your canvas is where your Cricut will cut.
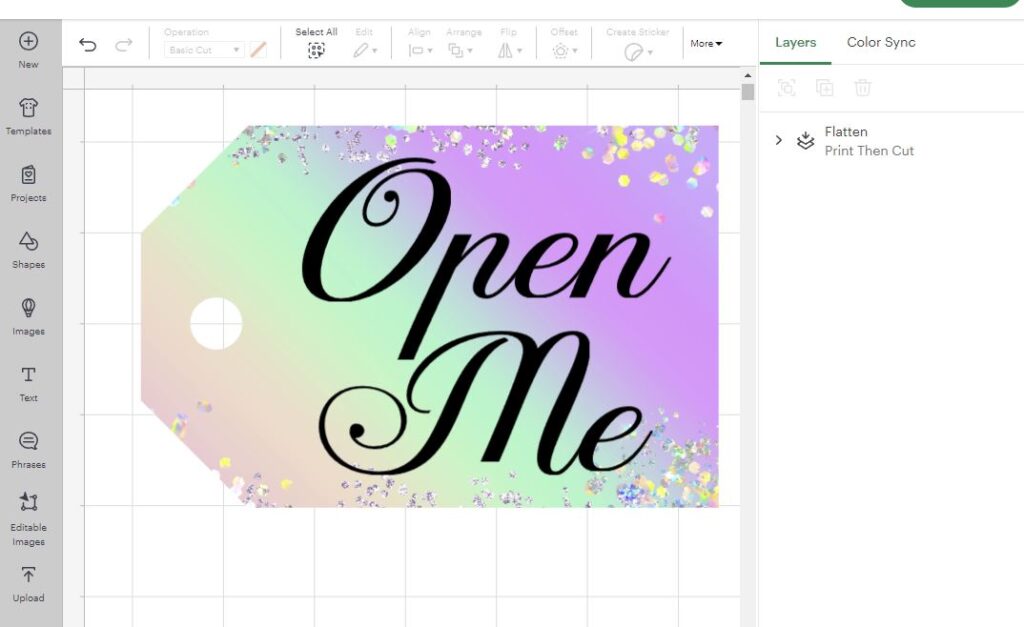
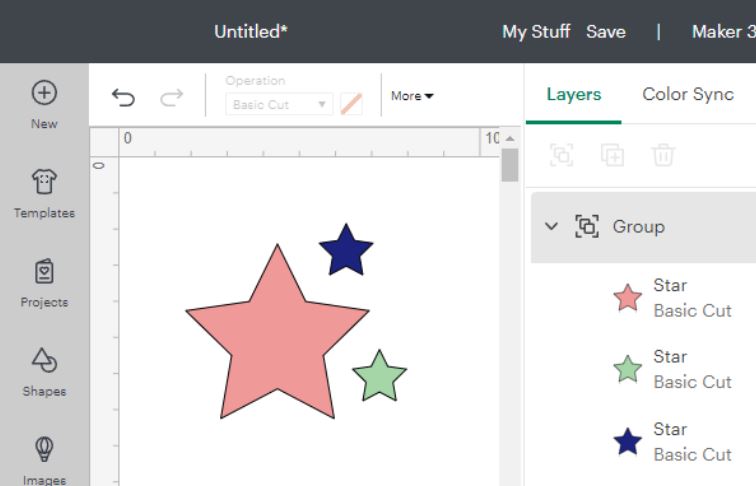
Use Flatten
Flatten is the feature in Design Space that is used exclusively with Print Then Cut, and is used to convert your design into a Print Then Cut design.
We use Flatten to solidify two or more objects together and tell the software that we will be using our printer to print them out.
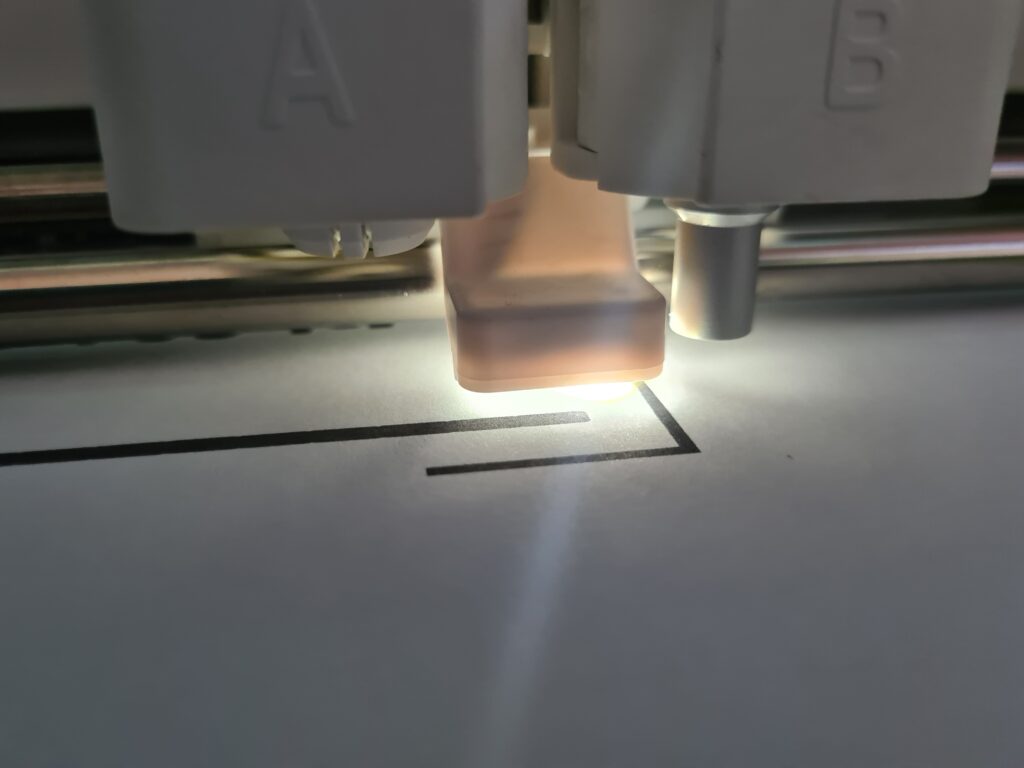
Calibrate Your Machine
A calibration is a way to help your Cricut more easily align your cuts to get cuts that are as close to perfect as possible.
Calibration runs in two cycles, a basic and a fine calibration. It is recommended to do both of these calibration cycles before doing your first project.
Using Glossy Materials
Glossy printable materials are a big favourite to use for Print The Cut projects, but they may cause you problems.
Your Cricut uses a light to illuminate the registration marks. If you are using a glossy material, this can cause a glare, which stops the sensor from accurately reading the registration marks.
If your cuts are inaccurate and you are using a glossy material, use invisible/matte tape or a crayon to remove the glare over the registration marks.
Your First Print Then Cut Project
There are a few basic steps to getting your first Print Then Cut Project started
Upload Your Design
Start off your project by uploading your design to Design Space.
The most common Print Then Cut design types are images which are
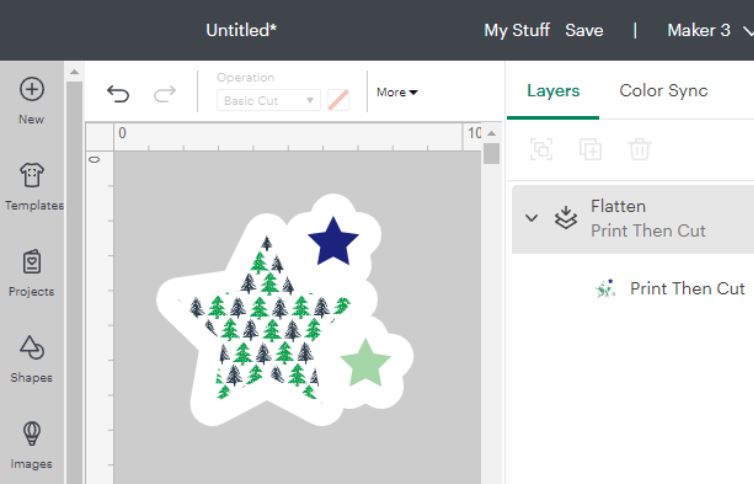
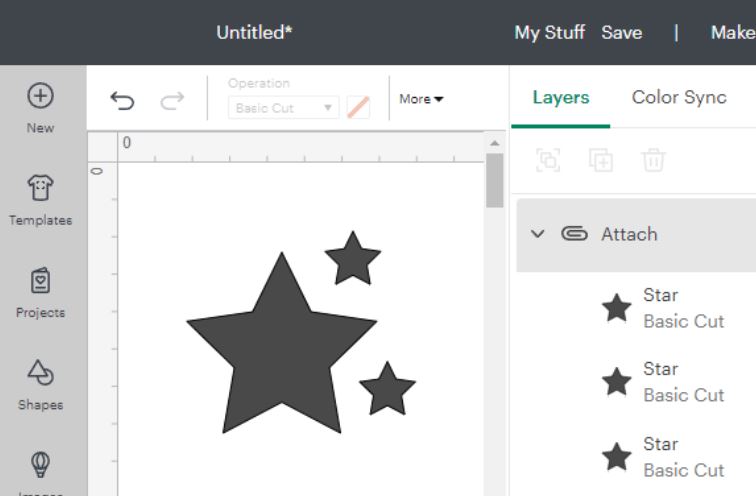
Group
Used to keep them together while designing on the canvas.
Grouping will keep all layers different colours, so that they can be cut on different mats,
Tip: Use group to keep elements together to more easily see what your end project will look like once complete.
Flatten
Used ONLY for Print Then Cut. Combine multiple layers together to create a printable item. Background MUST be solid if you want to cut only the outline. Offset is a great way of creating a solid background (cut line) for your printable item.
Tip: If you can see the grid lines of the canvas through your sticker – your background is not solid!